Have you ever wanted to surprise someone with a personalized mug featuring their favorite photo or a memorable quote?
Or perhaps you’d like to start a business selling customized mugs. Printing designs inside mugs can seem like a daunting task, but fear not!
This guide will walk you through how to print inside a mug using various methods to achieve stunning, long-lasting prints on the interior of mugs.
Whether you’re looking to print mugs for fun or looking to start a new business, this article will provide you with the knowledge and techniques to create beautiful, one-of-a-kind mugs.
So, let’s get started!
you may also like:
- Can You Sublimate on Viscose? (Answered!)
- Can You Remove Sublimation Ink from Different Blanks?
- How Many Prints Per Sublimation Cartridge Can You Get?
- How Can I Get Better At Sublimation?
How to Print Inside a Mug?
Below are a few different methods to print inside a mug:
1. Water Slide Decals
Water slide decals offer a relatively simple and affordable way to print designs inside mugs.

Here’s a step-by-step guide to help you get started:
- Design and Mirror: Open your preferred design software and create the image or text you want to print on your mug. Once you’ve finalized the design, mirror it horizontally.
- Print on Decal Paper: Next, you’ll need to print your mirrored design onto special water slide decal paper.
- Cut and Clear Coat (Optional): Once your design is printed, carefully cut it out using a pair of sharp scissors. If you want to enhance the durability of your decal, you can apply a thin layer of clear gloss spray over the printed design.
- Soak and Apply: Fill a shallow container with water and submerge the decal for the recommended time, typically around 30 seconds. Then carefully position the design on the inside rim of the mug, gently sliding it into place.
- Let it Dry: After applying the decal, set the mug aside and allow it to dry completely for 24-48 hours. This will ensure that the design adheres properly to the mug’s surface.
2. Sublimation with Inner Coating
Some mug manufacturers offer mugs specifically designed for inside sublimation. These mugs have a special inner coating that accepts sublimation ink, allowing you to print designs directly onto the interior surface.

Here’s what you need to know:
- Obtain Sublimation-Ready Mugs: Contact your mug supplier or check their product specifications to ensure that the mugs you’re purchasing have an inner coating suitable for sublimation printing.
- Prepare Your Design: Create your design using a graphics program compatible with your sublimation printer. Make sure to mirror the image horizontally before printing.
- Print Your Design: Load your sublimation printer with the appropriate sublimation ink and paper, then print your mirrored design onto the transfer paper.
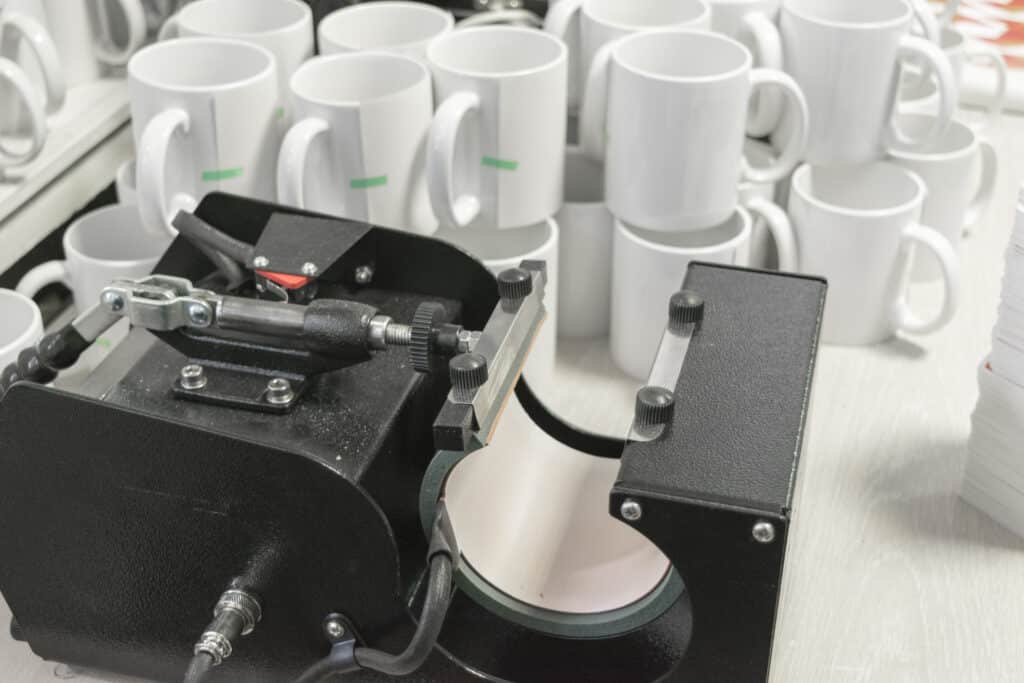
- Heat Press Setup: You’ll likely need a larger heat press that can accommodate the entire mug. Follow the manufacturer’s instructions for setting up the heat press and adjusting the temperature and pressure settings.
- Transfer the Design: Carefully position the printed transfer paper onto the inner surface of the mug and then put it into the heat press. Now apply the recommended temperature and pressure for the specified amount of time.
- Reveal Your Print: Once the transfer process is complete, carefully remove the mug from the heat press and allow it to cool down. Gently peel away the transfer paper to reveal your freshly printed design on the mug’s interior.
3. Sublimation Wrap and Mug Press Jig
This method involves creating a custom wrap with your design and using a special jig or spacer to hold the wrap inside the mug during the heat press process.

Follow these steps:
- Design and Print Your Wrap: Using a graphics program, create your design and print it onto sublimation transfer paper, ensuring that the image is mirrored horizontally.
- Prepare the Wrap: Cut out your printed design, leaving enough space around the edges to wrap it around the mug’s interior.
- Position the Wrap: Carefully insert the wrap into the mug, ensuring that it’s aligned correctly and not creased or wrinkled. Use the jig or spacer to hold the wrap in place.
- Heat Press Setup: Adjust your heat press settings according to the manufacturer’s recommendations for sublimation transfers onto mugs.
- Transfer the Design: Place the mug assembly into the heat press and apply the recommended temperature and pressure for the specified amount of time.
- Reveal Your Print: Gently remove the jig or spacer and the wrap to reveal your freshly printed design on the mug’s interior.
4. Sublimation Using Sand
If you want to print a design on the inner bottom of a mug, the sublimation using the sand method might be a suitable option.

Here’s how it works:
- Prepare the Design: Create your design and print it onto sublimation transfer paper, ensuring that the image is mirrored horizontally. Cut the design into a round shape that matches the diameter of the mug’s bottom.
- Position the Design: Place the round design onto the inner bottom of the mug and secure it in place using heat-resistant tape or a specialized mug wrap.
- Fill with Sand: Obtain a heat-resistant pad or wrap designed for mug sublimation. Wrap it securely around the mug, leaving the bottom open.
- Add Sand: Carefully fill the mug with fine, dry sand, gently pressing down to ensure that the sand is evenly distributed and compacted.
- Heat Press Setup: Adjust your heat press settings according to the manufacturer’s recommendations for sublimation transfers onto mugs.
- Transfer the Design: Place the sand-filled mug into the heat press and apply the recommended temperature and pressure for the specified amount of time, typically around 15 minutes.
- Reveal Your Print: Gently remove the sand, heat wrap, and sublimation paper to reveal your freshly printed design on the mug’s inner bottom.
5. Sublimation Using Subli Shrink
The sublime shrink method is an exceptional technique that allows you to print designs on the entire mug, including the inner bottom, sides, and even the handle. Follow these steps:

- Prepare Your Design: Create your design and print it onto sublimation transfer paper, ensuring that the image is mirrored horizontally.
- Wrap the Mug: Obtain a sublime shrink sheet designed specifically for mug sublimation. Carefully wrap the mug with your printed design, ensuring that the images align correctly on the mug’s exterior and interior surfaces.
- Remove Air: Use a heat gun or hair dryer to gently remove any excess air from the sublime shrink sheet, ensuring that it hugs the mug’s contours tightly.
- Preheat the Oven: Preheat a convection oven to 400°F (204°C).
- Heat Press the Mug: Place the wrapped mug into the preheated convection oven and bake for 12-15 minutes.
- Reveal Your Print: Allow it to cool down, then gently peel away the sublime shrink sheet to reveal your stunning, fully printed mug.
Frequently asked questions
Below are a few frequently asked questions:
What printer do I need to print on mugs?
To print designs directly onto mugs, you’ll need a specialized sublimation printer that uses heat-activated ink. Regular inkjet or laser printers won’t work for this purpose.
Is it safe to 3D print a mug?
While 3D printing mugs is possible, it’s generally not recommended for food-safe applications unless you’re using FDA-approved materials specifically designed for that purpose.
Most standard 3D printing filaments are not food-safe and could potentially leach harmful chemicals into your beverages.
Can I print a photo on a mug at home?
Yes, you can print photos on mugs at home using a sublimation printer and the techniques outlined in this guide.
However, keep in mind that sublimation printers and supplies can be an investment, and the process may require some practice to achieve professional-looking results.
Wrapping Up
Printing designs inside mugs is a versatile and creative endeavor that can be achieved through various methods, from water slide decals to advanced sublimation techniques.
Whether you’re a hobbyist looking to create personalized gifts or an entrepreneur exploring a new business opportunity, this guide has provided you with the knowledge and steps to bring your mug designs to life.
Remember, each method has its advantages and considerations, so choose the one that best suits your skill level, equipment, and desired outcome.
With patience, practice, and the right tools, you can create stunning, one-of-a-kind mugs that will delight recipients or customers alike. So, grab your supplies, unleash your creativity, and start printing those mugs today!


