Have you ever been excited to work on a new puff vinyl project, only to be met with frustrating wrinkles and bubbles?
Don’t worry, you’re not alone!
Puff vinyl can be a tricky material to work with, and wrinkles are a common issue that many crafters face.
In this article, we’ll explore ‘Why is my puff vinyl wrinkling?’ and provide you with practical tips and tricks to prevent it from happening.
We’ll explore the role of moisture, application techniques, fabric compatibility, and heat press settings in causing wrinkles.
So, get ready to say goodbye to those pesky wrinkles!
you may also like:
- Sublimation Paper Stuck To Tumbler: Solved
- Why Sublimation Black Looks Grey And How To Solve It?
- Can You Mix Sublimation Ink Brands?
- Best Sublimation Blanks (T-shirts, Mugs, Tumblers, etc)
Why is my puff vinyl wrinkling?
Below are a few reasons why your puff vinyl might be wrinkling:
1. Moisture and steam
Puff vinyl reacts poorly to moisture and steam, which can cause it to wrinkle or bubble up during the heat transfer process. When moisture is present, it can get trapped between the vinyl and the fabric, causing the vinyl to create wrinkles.
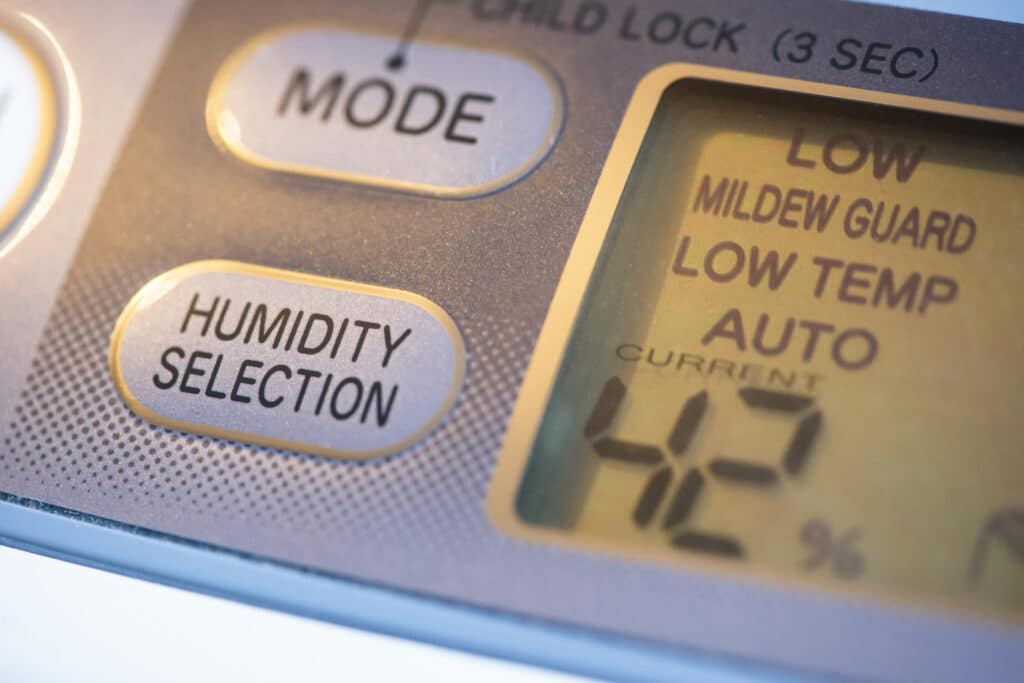
Even the slightest amount of humidity in the air or moisture on the fabric can lead to wrinkling. That’s why it’s crucial to ensure the fabric is completely dry before applying the puff vinyl.
Additionally, some fabrics are more prone to retaining moisture than others, so it’s essential to choose the right material.
2. Improper application technique
If the puff vinyl is not applied correctly or with the right amount of pressure and heat, wrinkles can form. Incorrect pressure can lead to uneven adhesion, causing the vinyl to wrinkle or bubble up.
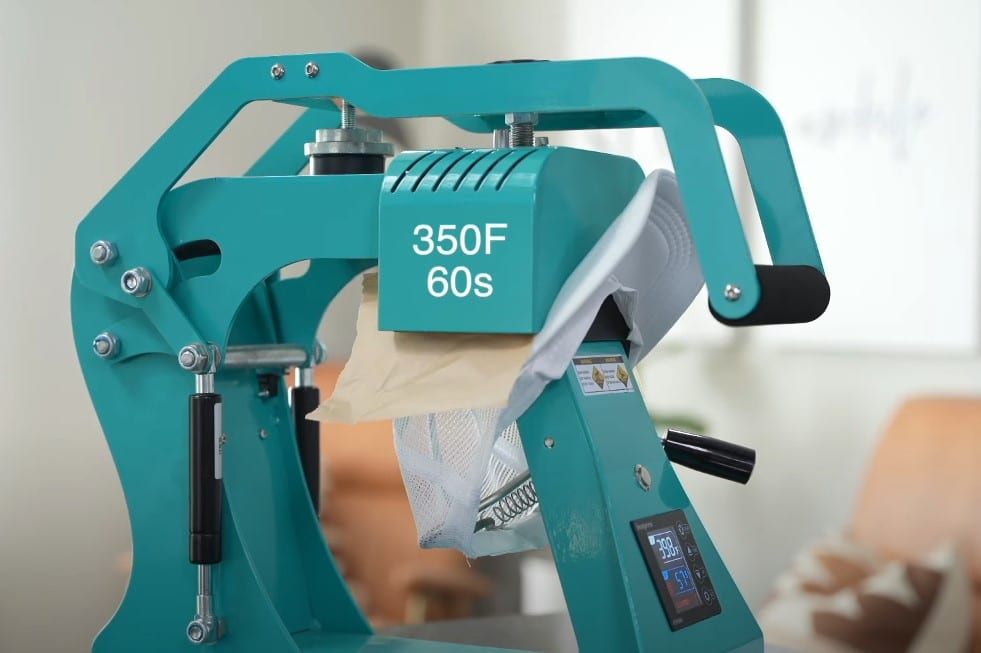
Applying too much pressure can also cause the vinyl to stretch or distort, resulting in wrinkles. Similarly, if the heat press temperature or time is not set correctly, the vinyl may not adhere properly, leading to wrinkles or incomplete expansion.
3. Incompatible fabric
Puff vinyl works best on smooth, heat-resistant fabrics like cotton or cotton blends. Using incompatible fabrics can lead to wrinkling.
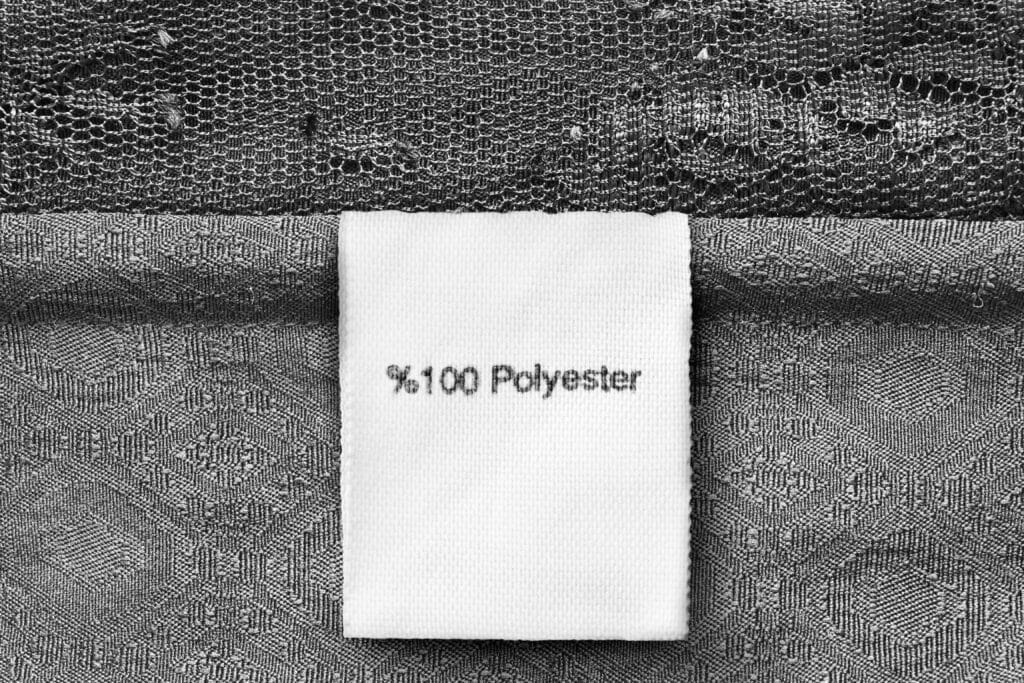
Some fabrics, such as nylon or polyester, may not be suitable for puff vinyl as they can melt or distort under high temperatures. Additionally, rough or textured fabrics can make it difficult for the vinyl to adhere evenly, causing wrinkles or bubbles.
4. Wrinkled base fabric
If the fabric you’re applying the puff vinyl to is wrinkled or creased, the vinyl will conform to those wrinkles, resulting in a permanently wrinkled design.
Even the slightest crease or fold in the fabric can create a wrinkle in the vinyl once it’s applied and heated. That’s why it’s crucial to pre-press or iron the fabric before application to ensure a smooth surface.
5. Incorrect heat press settings
Using the wrong temperature, pressure, or pressing time can cause the puff vinyl to wrinkle or not adhere properly.
Every brand and type of puff vinyl may have different recommended settings, so it’s essential to follow the manufacturer’s instructions carefully. If the temperature is too low, the vinyl may not expand fully, leading to wrinkles.
Now that we’ve covered the main reasons for puff vinyl wrinkling, let’s dive into some practical tips to avoid it.

How to Avoid Puff Vinyl Wrinkling
Below are a few tips that you can use to avoid puff vinyl from wrinkles:
1. Pre-press the fabric
Before applying the puff vinyl, make sure to iron or pre-press the fabric to remove any wrinkles or creases. This will ensure a smooth surface for the vinyl to adhere to.
Pre-pressing not only removes wrinkles but also helps to eliminate any moisture that may be present in the fabric.
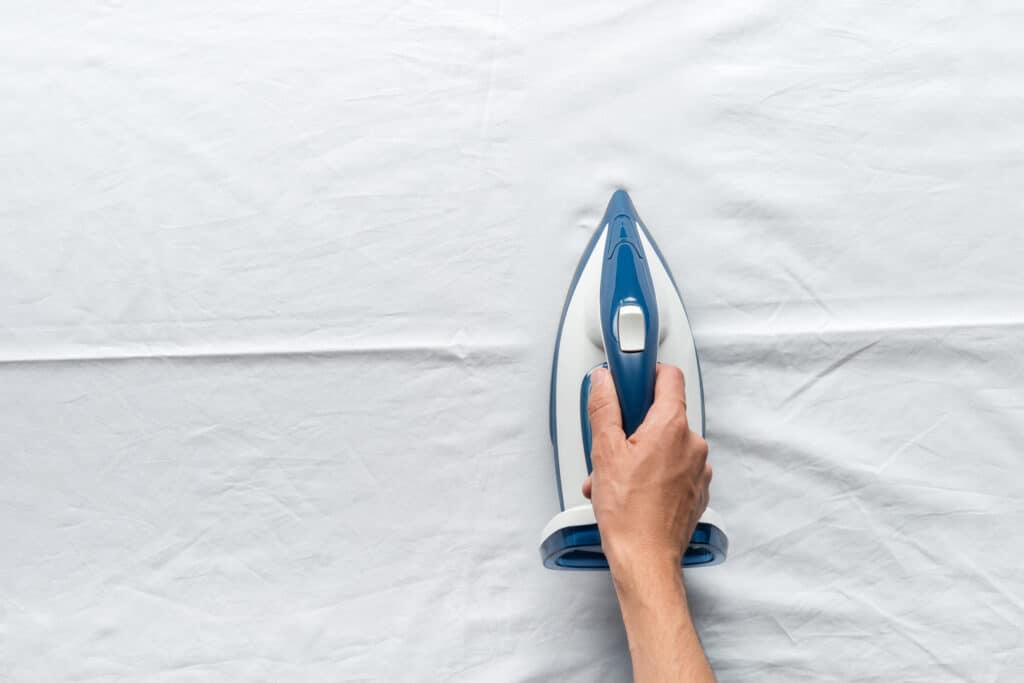
It’s essential to pre-press the entire surface area where you’ll be applying the vinyl, as even the smallest wrinkle can cause issues. Use a hot iron or heat press to thoroughly press the fabric, ensuring it’s completely flat and dry.
2. Use a lint roller
Gently roll a lint roller over the fabric to remove any lint, dust, or debris that could cause bumps or wrinkles. These small particles can get trapped between the vinyl and the fabric, leading to uneven adhesion and wrinkles.
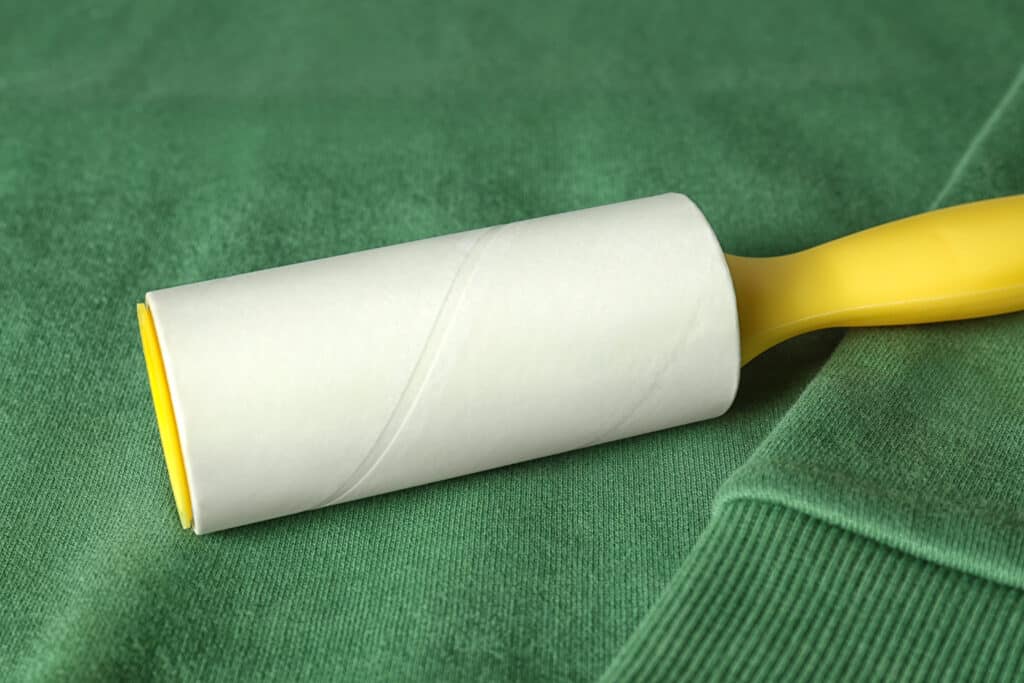
Make sure to roll the lint roller over the entire surface area where you’ll be applying the vinyl, paying special attention to seams or areas that tend to collect more lint.
3. Follow application instructions
Always follow the manufacturer’s instructions for temperature, pressure, and pressing time. Different brands and types of puff vinyl may have different requirements.

Using the wrong settings can lead to over-expansion, under-expansion, or improper adhesion, all of which can cause wrinkles. Read the instructions carefully and adjust your heat press settings accordingly.
4. Apply even pressure
When pressing the puff vinyl, make sure to apply firm and even pressure across the entire design. Uneven pressure can cause wrinkles or incomplete adhesion.
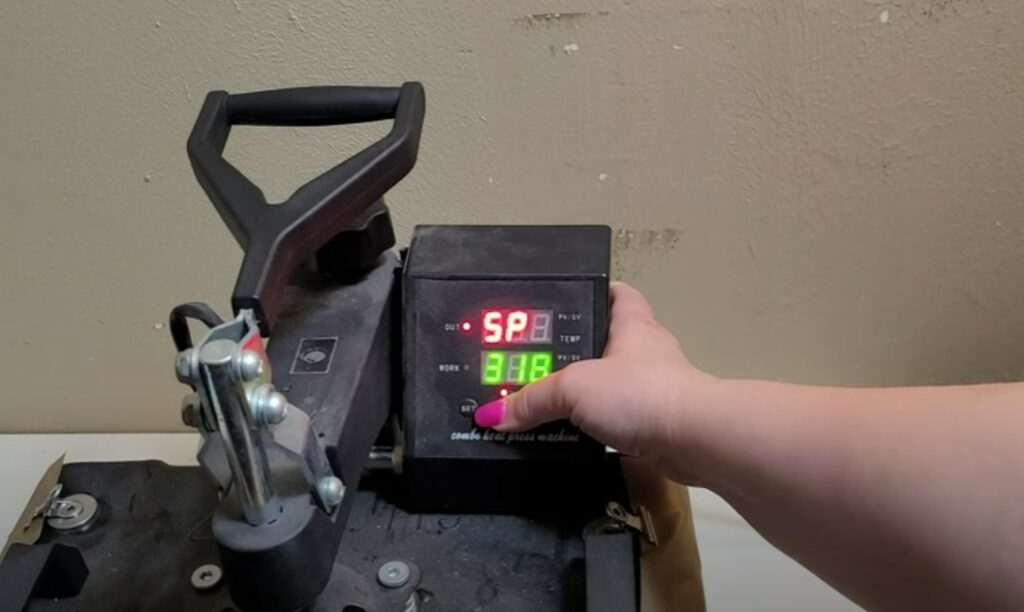
Use a heat press that’s large enough to cover the entire design in one pressing, or make multiple pressings if necessary, ensuring that each section receives equal pressure.
5. Use a heat press (if possible)
While it’s possible to use a household iron for small projects, a heat press provides more consistent heat and pressure, reducing the risk of wrinkles.
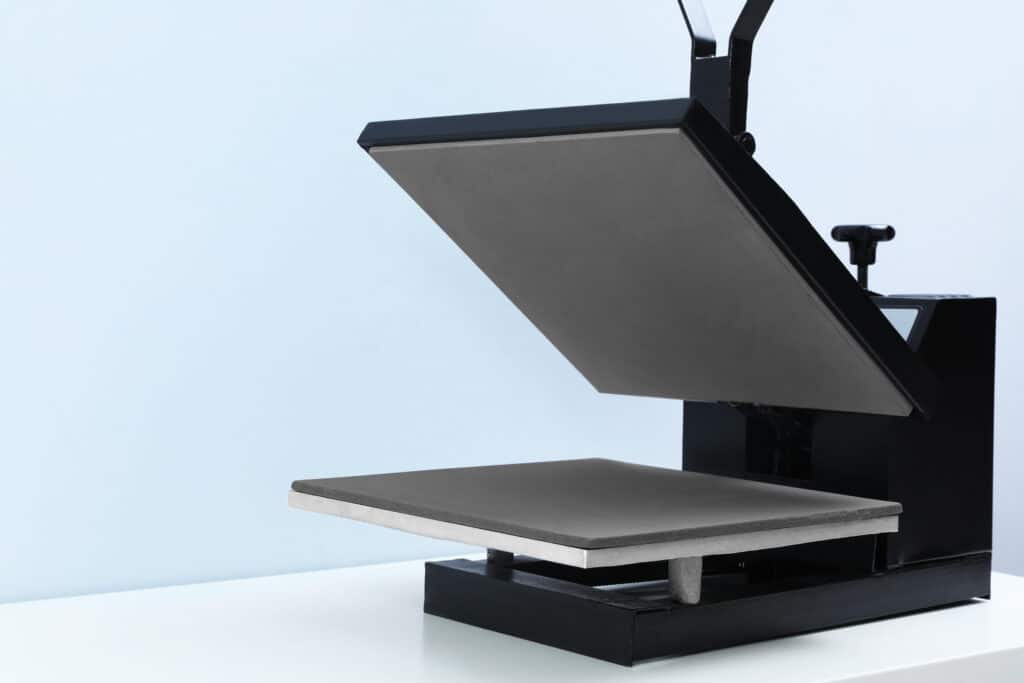
Heat presses are designed to distribute heat and pressure evenly across the entire surface, ensuring proper adhesion and expansion of the puff vinyl.
6. Peel the carrier sheet while warm
Once the puff vinyl has been pressed, peel off the carrier sheet while the vinyl is still warm. Waiting too long can cause the vinyl to cool and wrinkle.
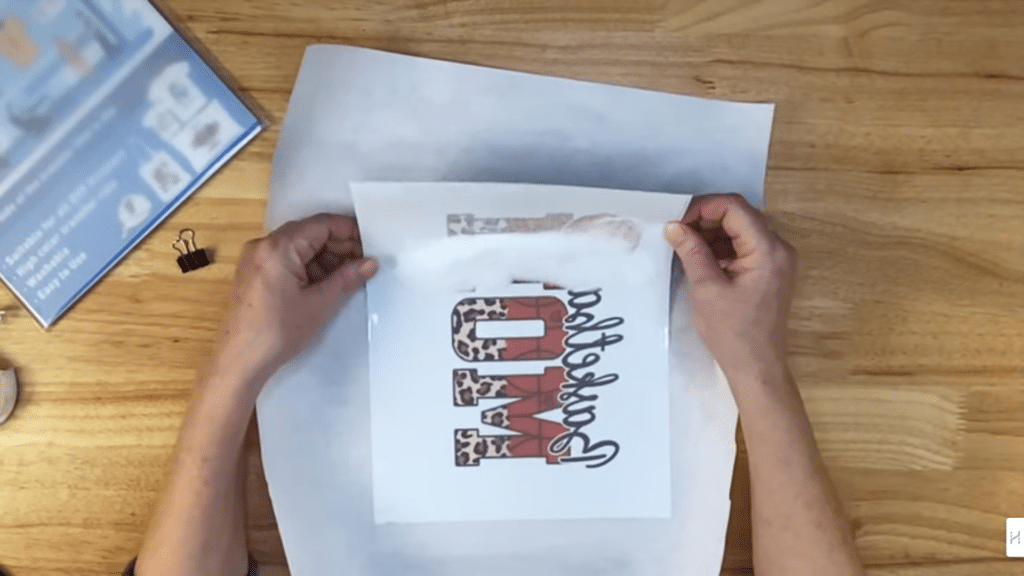
As the vinyl cools, it becomes less pliable and more prone to wrinkling. Peel the carrier sheet immediately after pressing, while the vinyl is still warm and flexible.
7. Smooth out any wrinkles immediately
If you notice any wrinkles or bubbles after peeling the carrier sheet, use a craft scraper or squeegee to gently smooth them out while the vinyl is still warm and pliable.
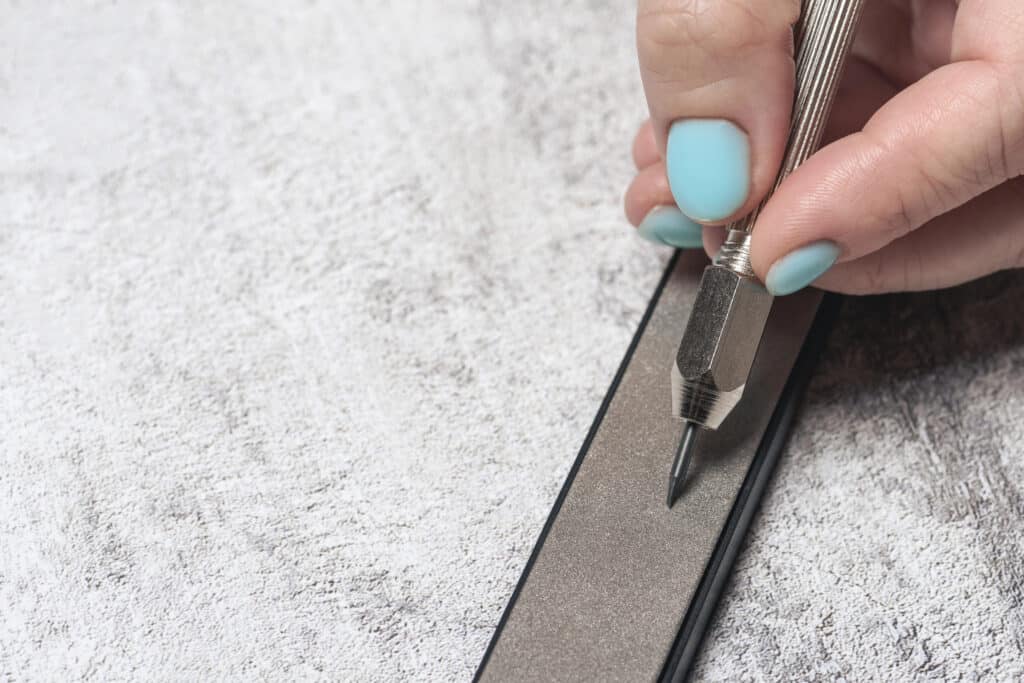
Apply firm pressure and smooth the vinyl in a single direction, being careful not to stretch or distort it.
8. test on scrap fabric
Before applying the puff vinyl to your final project, test it on a scrap piece of fabric to ensure you have the right settings and technique.
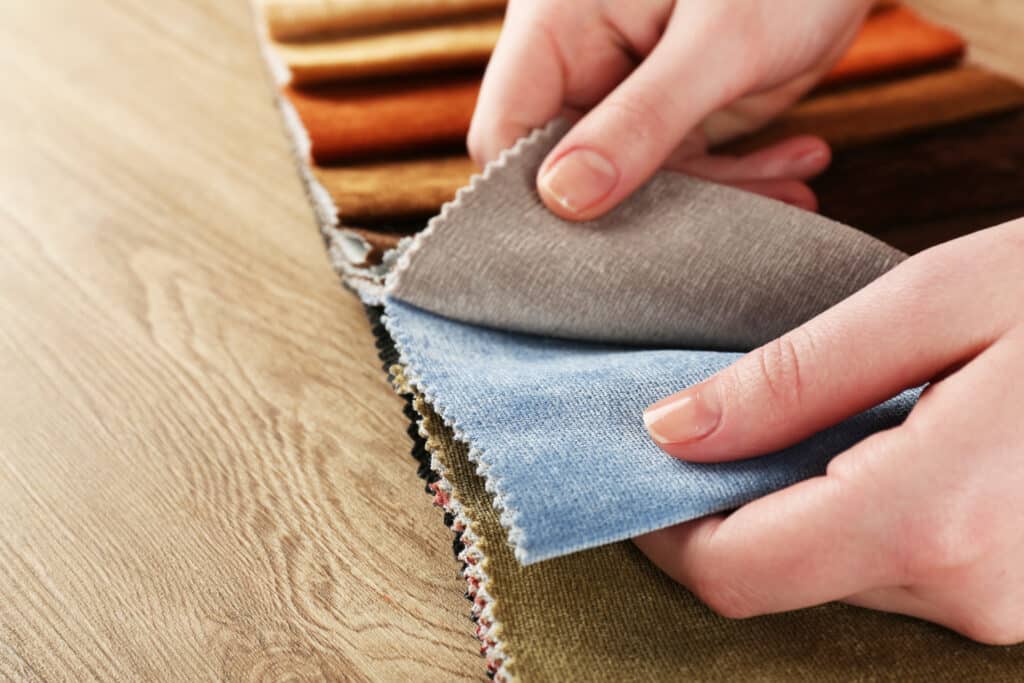
This can help you identify and correct any issues before committing to your final piece.
9. Use a Teflon sheet
Place a Teflon sheet or parchment paper over the puff vinyl design before pressing. This can help prevent wrinkles and ensure even heat distribution.
The Teflon sheet acts as a barrier, preventing any moisture or debris from getting trapped between the vinyl and the fabric.
By following these tips and paying close attention to the application process, you’ll be able to create stunning, wrinkle-free puff vinyl designs that will make your projects pop!
frequently asked questions
Below are a few frequently asked questions to help you out:
Should puff vinyl wrinkle?
No, puff vinyl should not wrinkle if applied correctly. Wrinkles in puff vinyl are usually caused by moisture, improper application technique, incompatible fabric, or incorrect heat press settings.
Can you heat-press puff vinyl twice?
It’s generally not recommended to heat press puff vinyl twice, as it can cause the vinyl to over-expand and lose its shape or adhesion.
If you notice wrinkles after the initial press, it’s better to smooth them out immediately while the vinyl is still warm and pliable.
Why does my vinyl look wavy?
If your vinyl looks wavy or rippled, it could be due to excessive heat or pressing time. Puff vinyl expands when heated, and overheating can cause it to distort or become wavy.
Always follow the manufacturer’s recommended temperature and pressing time to avoid this issue.
Wrapping Up
Puff vinyl can be a fantastic material for adding depth and dimension to your projects, but wrinkles can quickly ruin the effect.
In this article, we’ve explored the various reasons why your puff vinyl might be wrinkling along with practical tips and tricks to avoid puff vinyl wrinkles.
Remember, patience and practice are key when working with puff vinyl. Don’t be discouraged if you encounter wrinkles at first, keep fine-tuning your technique, and you’ll be creating stunning 3D designs in no time!
We hope this article has been helpful and informative. If you have any additional tips or tricks for avoiding puff vinyl wrinkles, share them in the comments below.

