I’m so excited you’re interested in trying sublimation printing. I know it seems daunting, but I’m here to walk you through everything you need to know to get started.
Sublimation is awesome because it allows you to print custom designs onto all kinds of blanks – from t-shirts, mugs, and phone cases to wooden cutouts, puzzles, and more.
The ink actually bonds with polyester-coated items to create permanent images that won’t crack or fade over time.
While there is a learning curve, sublimation is very doable for beginners.
And I’ll share tips to make the process as smooth as possible.
In this guide, I’ll go over the key supplies you need, step-by-step instructions, and handy advice to set you up for success. Let’s do this!
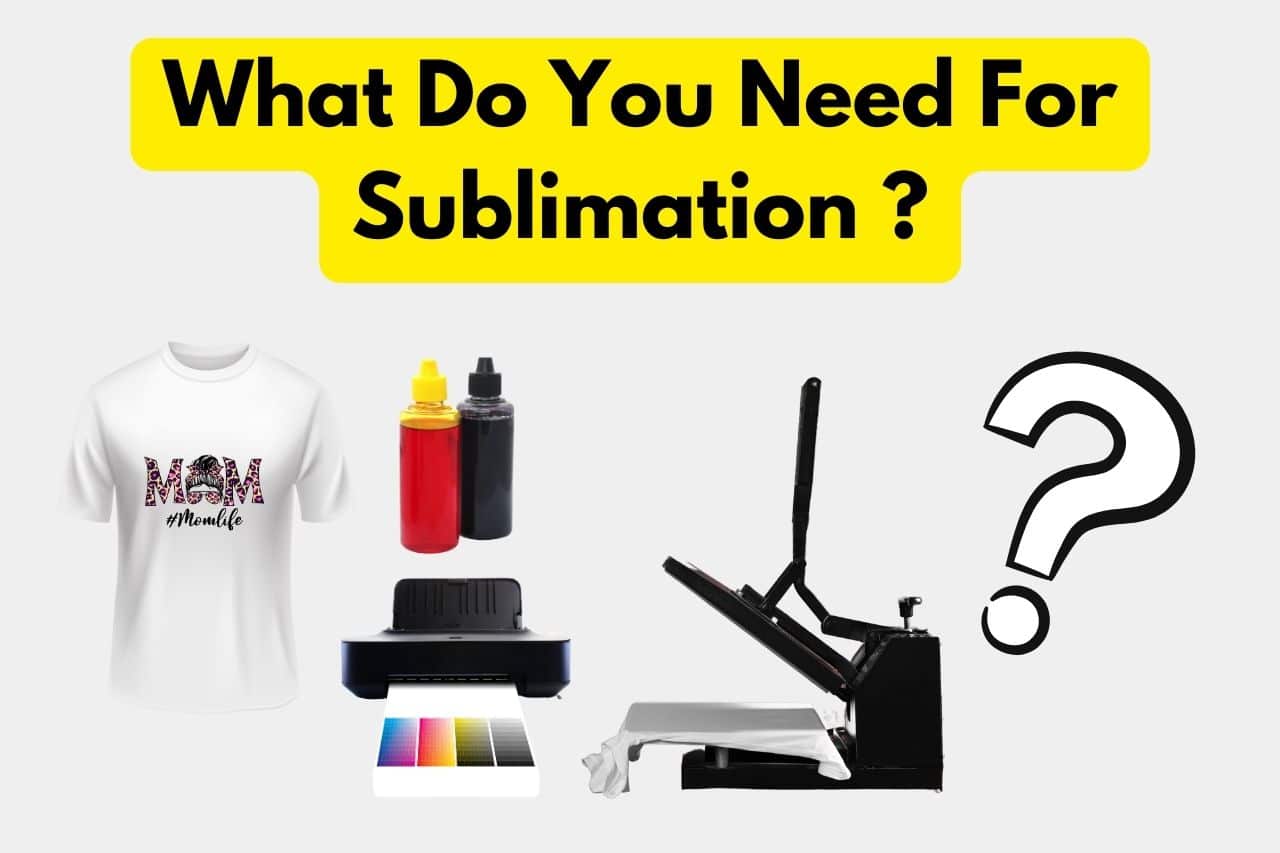
What Do You Need For Sublimation (All Items)
Sublimation requires a few specialized supplies. Here are the core items you’ll need:
1. Sublimation Printer, Ink, and Paper
A sublimation printer allows you to print the special ink onto sublimation paper. You have a few options:
- Buy a printer specifically made for sublimation. These come in different sizes and prices. A basic 8.5″ x 11″ model is fine for starters.
- Convert an existing inkjet printer to a sublimation printer. I did this with my Epson EcoTank by buying sublimation ink and installing it.
Not all printer models work, so google your printer name and “sublimation conversion” first.
- The ink must be formulated for sublimation. Look for reputable brands like Cosmos and Swagrass. Buy refillable bulk ink tanks or cartridges based on your printer.
- Use special sublimation paper like A-SUB or Printers Jack brands. The coating ensures vivid colors and ink bonding.
Pro Tip: Print a few test pages on regular paper first to dial in settings before using your sublimation paper.
2. Sublimation Polyester Coated Blanks
You’ll need polyester-coated blanks for the ink to bond to permanently. Blanks can be:
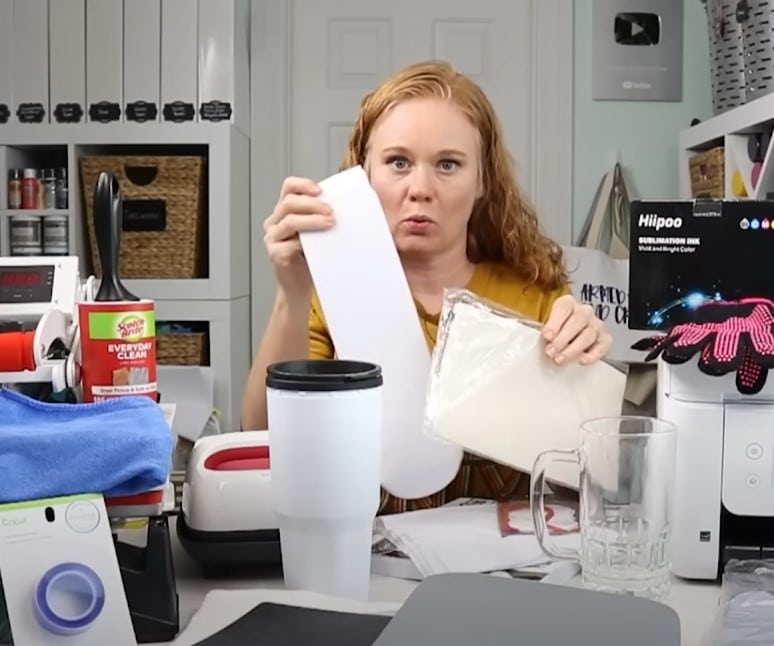
- T-shirts, mugs, ceramic tiles, phone cases, ornaments, cutting boards, towels, etc. Basically anything with a polyester coating.
- Look for items specifically marketed as “sublimation blanks.” Or google “[item] sublimation” to find suitable blanks.
- Stick to white or very light colors. Dark blanks will show through and alter the design color.
- For t-shirts, aim for at least 75% polyester. 100% poly shirts work best. Pre-wash to minimize shrinking.
Insider Tip: Buy a multipack of inexpensive blanks in various colors and materials to test with.
3. Heat Press or Oven
A heat press, convection oven, or even a basic Cricut EasyPress can work for sublimation.
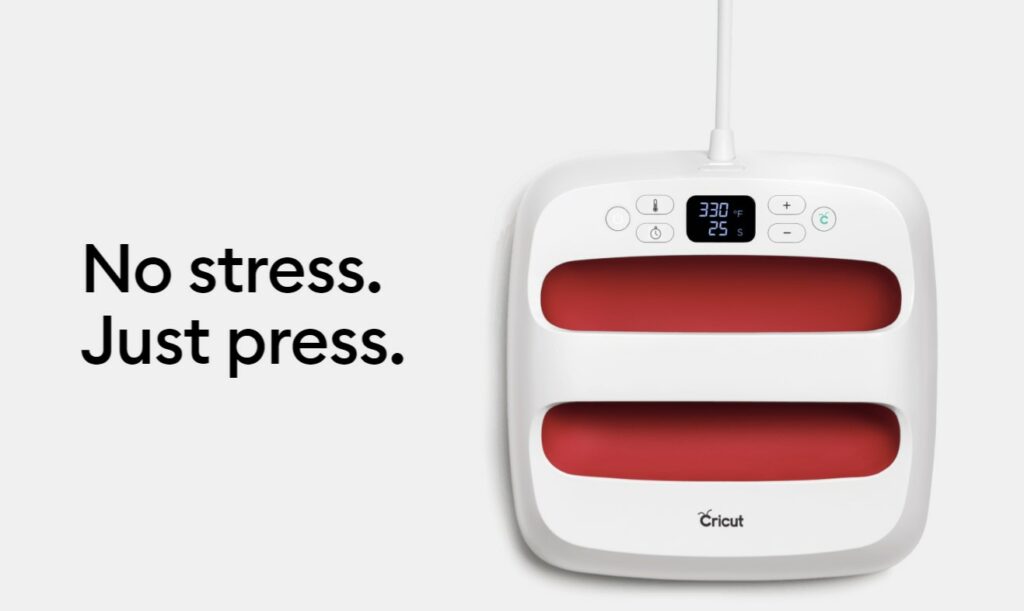
You’ll need:
- A heat source capable of maintaining 380-400°F accurately. Any fluctuation will affect results.
- The ability to apply firm, even pressure for 30-60 seconds typically.
- For ovens, use a cheap dedicated oven for sublimation only to keep chemicals away from food. Place blanks directly on oven racks covered in protective foil for best heat. An oven thermometer is recommended to verify temp.
Hot Tip: Always preheat for 5-6 minutes to ensure even, consistent heat.
4. Handy Sublimation Accessories
Round out your supplies with these useful tools:
- Heat resistant gloves for handling hot blanks. I use Fishbone Safety gloves rated for 500°F temps. Burns are no fun!
- A good lint roller like Scotch-Brite removes fuzz, dust, and debris that could block ink transfer. Give each blank a once over before pressing.
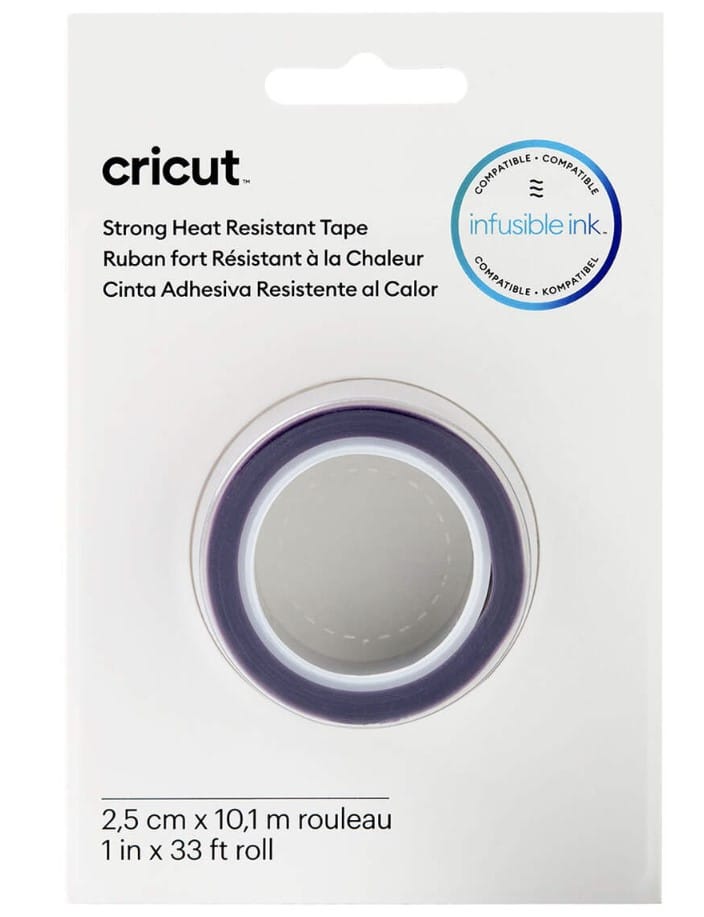
- Heat tape like Cricut Strong Heat Resistant Tape lightly secures the paper to blanks on all sides pre-pressing. It’s thermally activated to release post-heating.
- Protective paper prevents ink ghosting or transfer to heating elements. Try multipurpose butcher paper, sublimation release paper, or plain copy paper in a pinch.
- Pressing pads provide a cushion between blanks and heating plates. I like using high-temp silicone oven pads inside shirt presses. Foam works too. This prevents embedded crease lines on soft materials like shirts.
- A thermometer helps troubleshoot incorrect temps. Infrared can be unreliable on shiny surfaces, so I use a probe thermometer to verify my heat press temp matches the dial.
- Design software lets you resize artwork to perfectly fit your blanks. I use free options like Canva or Inkscape for simple prints. Adobe Illustrator is great for advanced designs at an affordable monthly fee.
- Color correction programs get you the most accurate, vivid colors from your printer setup by adjusting the file digitally. Still testing options on this myself, but I’ll update you soon!
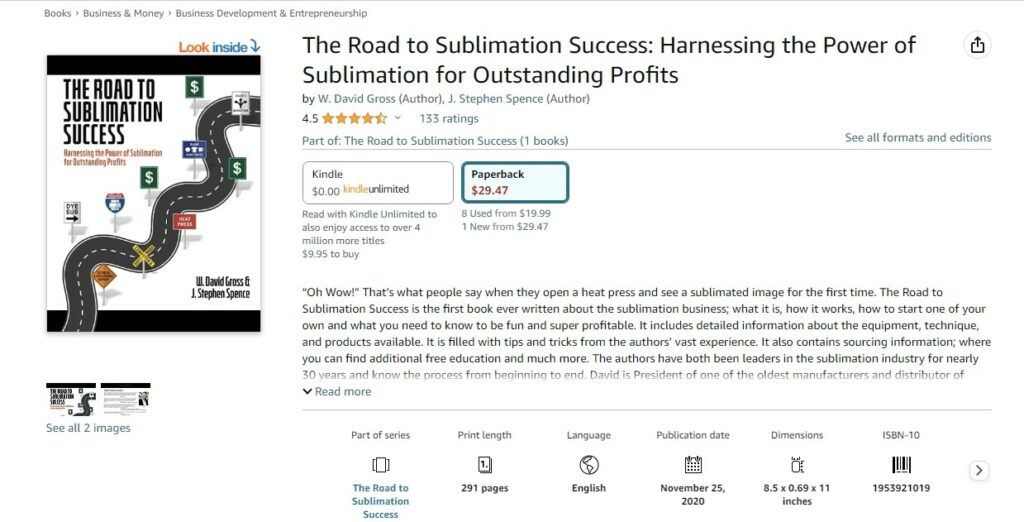
- A good sublimation guidebook like The Road to Sublimation Success provides detailed tutorials and troubleshooting tips I often reference.
Pro Tip: Store heat-sensitive supplies away from heat presses and ovens to maximize longevity.
Got all the gear? Now let’s walk through using it for awesome sublimated projects!
Step-by-Step Sublimation Process (Beginner Friendly)
Once you have your supplies, the basic sublimation process goes like this:
- Create or obtain artwork sized to your blank at 300dpi or higher resolution. PNG files with transparent backgrounds work great for sublimation.
- Print your artwork in mirror image onto sublimation paper. The ink will transfer in reverse onto the blank, so this flips it to the proper orientation.
- Trim around the printed area with a half-inch border to avoid ink ghosting on the blank edges.
- Pre-press the blank itself for 10 seconds. This removes any moisture in the material and smooths wrinkles or waves.
- Place the print face-down on the blank, then cover with a sheet of protective paper, using heat tape on the edges to secure.
- Apply heat and pressure according to product directions, typically 380-400°F. I use 40-60 second presses for most items.
- Allow to cool fully before removing paper. Peel gently – the print is now permanently bonded to the blank!
Hot Tip: Keep a sublimation log to record time, temp, and pressure for each material. Tweak as needed for perfect prints every time.
It may take a few tries playing with times and temps to optimize your particular printer, heat press, and blanks.
But once dialed in, you’ll be churning out amazing personalized mugs, shirts, phone cases, and more in no time!
Handy Sublimation Tips and Tricks
Here are some tips I’ve learned along the way that really level up your sublimation game:
- Store blanks in original packaging until press time to minimize dirt, dust, and oils from your hands and the environment from affecting ink adhesion.
- Wear cotton gloves when handling blanks and prints to avoid fingerprints mucking up your lovely designs.
- Pre-shrink 100% polyester t-shirts before pressing by washing in hot water and drying on high heat. This prevents the shirt from shrinking later and distorting your printed image.
- Print multiples of one image while your printer is freshly inked and settings are dialed in. This conserves expensive sublimation ink and paper.
- Use printable templates matched to your blanks’ dimensions for perfectly positioned prints every time. Many sellers offer free printable templates.
- Mist blanks with water from a spray bottle to eliminate ink “ghosting” around print edges. The moisture helps vaporize offgassed ink.
- Change sublimation ink cartridges frequently to maintain vibrant colors. Old ink loses its punch.
- Print on thicker cardstock and reuse as protective paper layers when pressing multiple items. This saves money on butcher paper.
- Always do test prints on scrap materials when trying new techniques or materials to avoid wasting expensive blanks.
FAQ- What Do You Need For Sublimation
Here are some commonly asked questions related to sublimation supplies:
What material do you need to sublimate on?
Sublimating t-shirts is a great way to make customizable apparel! Here’s what you need to get started:
Sublimation Printer:
You’ll need a printer capable of printing with sublimation ink onto special paper. Options are:
Buy a printer specifically made for sublimation like an Epson or Ricoh model. These come in different sizes and prices.
Convert an existing inkjet printer to sublimation by installing sublimation ink. I converted my Epson EcoTank this way using inks from Cosmos Ink.
Sublimation Ink
Special ink formulated for sublimation printing is required. It bonds permanently with polyester fibers when heat is applied. I prefer Swagrass inks for their vibrant colors.
Sublimation Paper
You must use paper with a coating designed for sublimation.
Heat Press
You’ll need a heat press or easy-press like the Cricut EasyPress to apply heat and pressure to transfer the ink into the shirt fibers. I started with a small 6″ x 7″ press from Amazon.
Do Shirts Have to be 100% Polyester?
While 100% polyester shirts work best, you can sublimate blends as long as they contain at least 60% polyester.
50/50 cotton/poly shirts will still sublimate decently. The higher the polyester content, the crisper your graphics will be.
For blended shirts, I press 5-10 seconds longer at max recommended temp to drive ink deeper into fibers.
What Kind of Printer is Best?
The best sublimation printers are Epson and Ricoh models designed for sublimation ink. Desktop A4/letter-size printers like the WorkForce series offer affordable entry options.
I use an Epson EcoTank ET-2760 converted to sublimation. It handles bulk ink wells and has worked great for 2+ years now.
Check printer specs to ensure compatibility with 3rd party sublimation ink before purchasing.
Well, that covers everything I wish I’d known when starting sublimation! I hope all the tips help you avoid beginner mistakes and set you up for success.
Please let me know if you have any other questions. I’m happy to help!
The joys of sublimation are so worth the initial investment and learning curve.
Seeing your unique designs come to life on professional-quality lifestyle products is incredibly rewarding. I can’t wait to see what you create! Happy sublimating!
