

Have you ever wondered if you can transfer your stunning designs onto burlap products?
Burlap, the rugged and charming fabric, has become increasingly popular for crafts and DIY projects.
In this article, we’ll explore ‘Can you sublimate on burlap products?’. It includes bags, ribbons, stockings, and flags.
We will also discuss the essential steps, materials, and techniques you need to create vibrant and long-lasting designs on these unique fabrics.
From pre-washing tips to temperature and pressure settings, we’ll cover it all.
Let’s get started!
you may also like:
- Can You Sublimate on Silicone? (Explained!)
- How Many Prints Per Sublimation Cartridge Can You Get?
- How Can I Get Better At Sublimation?
- How Much Should I Charge for Sublimation Shirts?
Can You Sublimate on Burlap Products?
The short answer is yes, you can sublimate on burlap products like bags, ribbons, stockings, and flags.
Burlap, also known as jute, is a coarse, woven fabric derived from the jute plant’s natural fibers. It’s known for its rugged yet charming texture, making it a popular choice for various crafts and DIY projects.

However, there are a few things to consider before you dive into sublimating on burlap:
How to Sublimate on Burlap Products
Sublimating your designs onto burlap products requires a few essential steps and materials. Follow this detailed guide to ensure a successful and vibrant sublimation process:
1. Gather Materials
Before you begin, make sure you have all the necessary tools and supplies on hand.

You’ll need a heat press, a sublimation printer, sublimation transfer paper, heat-resistant tape, the burlap item you wish to sublimate (e.g., bag, ribbon, stocking, or flag), and protective paper.
Having everything ready and organized will ensure a smooth and efficient workflow.
2. Design and Print
Use a computer and design software to create the image or design you want to transfer onto the burlap product. Consider the burlap’s natural brown color and adjust your color palette accordingly for optimal visibility and vibrancy.

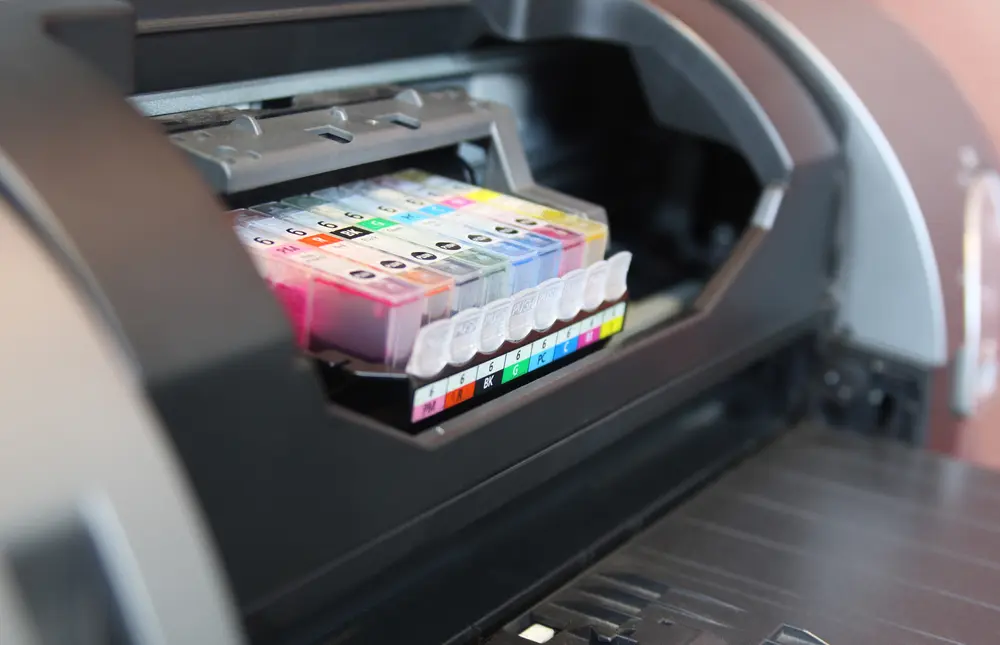
Once your design is finalized, print it onto the sublimation transfer paper using a sublimation printer. Ensure that your printer is properly set up and loaded with the correct sublimation ink cartridges.
3. Pre-Press Burlap
Before sublimating, it’s essential to prepare the burlap surface. Use an iron or heat press to pre-press the burlap item, applying gentle pressure and heat.

This step helps remove any wrinkles, creases, or moisture from the fabric, ensuring a smooth surface for the sublimation transfer.
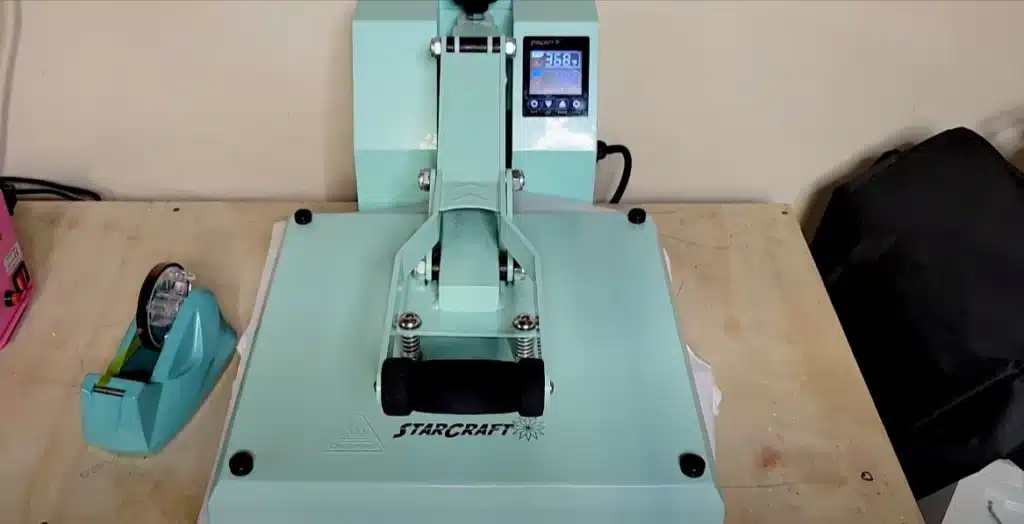
4. Preheat Heat Press
While your burlap item is pre-pressed, preheat your heat press to the recommended temperature for sublimating on burlap.

This temperature typically ranges between 375°F to 400°F (190°C to 205°C), but it’s essential to consult the manufacturer’s guidelines or conduct test runs to determine the optimal temperature for your specific burlap fabric.
5. Position and Press
Once the heat press is preheated, carefully position the printed transfer paper onto the burlap item, ensuring that the design is centered and aligned correctly.

Use heat-resistant tape to secure the transfer paper in place, preventing it from shifting during the pressing process. Then, carefully transfer the burlap item with the secured transfer paper onto the lower plate of the heat press.
6. Apply Pressure and Heat
Close the heat press and apply the recommended pressure and heat for the specified dwell time (usually 40-60 seconds).

During this process, the sublimation ink on the transfer paper will gasify and penetrate the fibers of the burlap fabric, permanently transferring the design onto the product.
7. Cool and Peel
After the allotted pressing time has elapsed, carefully open the heat press and remove the burlap item using heat-resistant gloves or tongs, as it will be extremely hot.

Place the sublimated burlap product on a heat-resistant surface and allow it to cool completely. Once cooled, gently peel off the transfer paper, revealing your vibrant, sublimated design on the burlap.
Tips for Sublimating on Burlap Products
Below are a few tips that you can use for successful burlap sublimation:
1. Use a Protective Paper

Place a protective paper between the burlap and the heat press to prevent ink residue from sticking to the press and potentially transferring onto your next project.
2. Pay Attention to Dwell Time
The dwell time, or the duration the heat press is in contact with the burlap fabric, is crucial. Too little dwell time can result in incomplete or patchy ink transfer, while too much dwell time can potentially scorch or damage the burlap.

Pay close attention to the recommended dwell time for your specific burlap fabric and adjust as needed based on your test runs.
3. Use the Right Amount of Ink
Using too much sublimation ink can lead to bleeding or smudging while using too little ink can result in a faded or incomplete design.
It’s essential to find the right balance by testing different ink quantities and evaluating the results on scrap burlap pieces before moving on to your final project.
4. Maintain Even Pressure Distribution
Ensuring even pressure distribution across the burlap surface is crucial for achieving a smooth, consistent print. Uneven pressure can lead to areas where the ink transfer is more concentrated or lighter, resulting in an uneven appearance.
Consider using a pressure pad or other tools to help distribute the pressure evenly during the sublimation process.
5. Consider Pre-Treatment
Some users recommend pre-treating the burlap fabric with a light starch solution before sublimation.

This can help improve ink adhesion and potentially enhance the final print quality, although testing on a scrap piece is crucial before treating your actual project burlap.
6. Experiment with Settings
Every burlap fabric is slightly different, and the optimal settings for one type of burlap might not work as well for another.
Be prepared to experiment with different temperature, pressure, and dwell time settings to find the combination that produces the best results for your specific burlap material.
7. Handle with Care
Burlap is a natural fiber and can be more delicate than synthetic fabrics.
Handle the burlap gently throughout the sublimation process, from pre-pressing to transferring and cooling, to prevent any unnecessary damage or distortion to the fabric.
frequently asked questions
Below are a few frequently asked questions:
What Fabric Can You Not Sublimate On?
You cannot sublimate on non-polyester fabrics like cotton, wool, or linen. These natural fibers do not have the necessary properties to accept and retain the sublimation dyes.
Can You Sublimate on Hessian Bags?
Yes, you can sublimate on hessian bags, which are made from a similar coarse, woven material like burlap.
However, the same considerations apply – choose high-quality hessian, pre-wash, and experiment with settings.
Can You Print on Burlap Fabric?
Yes, you can print on burlap fabric using various printing methods like screen printing, direct-to-garment (DTG) printing, or sublimation printing.
Sublimation offers the advantage of permanent, long-lasting prints that won’t crack or peel over time.
Wrapping Up
Sublimating on burlap products is an exciting and rewarding process that allows you to create unique and personalized designs on a variety of burlap items. From bags and ribbons to stockings and flags, the possibilities are endless.
Throughout this article, we’ve covered the essential steps and techniques for successful burlap sublimation, including gathering the right materials, designing and printing your artwork, preparing the surface, and handling the fabric with care.
Remember, burlap is a natural fiber with its own unique characteristics, so it’s crucial to experiment with different settings and techniques to find the perfect combination that works best for your specific burlap fabric.
So, share your burlap creations with friends and family, and don’t forget to leave comments and share your experiences with the process.


