
Want an easy way to customize shirts, mugs, and more with vibrant, permanent sublimation prints without a printer? Then you need to get your hands on some sublimation markers, my friend!
Sublimation markers, also called infusible ink markers, are about to become your new secret weapon for quick and easy sublimation printing. Using just sublimation markers and a heat press, you can create dazzling, one-of-a-kind sublimated pieces in no time.
But how do these markers actually work? read this article to how does sublimation markers work, why to use sublimation markers, tips for better sublimation marker transfers, and much more.
How Does Sublimation Markers Work
At first glance, sublimation markers look like standard markers filled with colorful ink. But inside is a very special ink known as sublimation ink or infusible ink.

Sublimation ink has a unique chemical composition that allows it to turn into a gas when heat and pressure are applied. That gas seeps into the pores of polyester fabrics and bonds at a molecular level to infuse the fabric with a permanent, vibrant color.
The ink stays in a solid, dormant state when inside the markers. This allows you to draw and color normally on paper. But once heat enters the equation – around 375°F to 400°F – the sublimation process activates, releasing the ink as a gas to permanently dye the substrate.
This lets you hand draw designs with sublimation markers onto everyday printer paper. Then you can transfer those drawings onto poly-coated surfaces using a heat press, just like you would with sublimation printer transfers.
The result? Beautiful, customizable, vibrant sublimation prints using markers and heat – no printer required!
Why Use Sublimation Markers?
Sublimation markers offer some unique advantages for crafters and small business owners:
Sublimation markers are a very beginner-friendly way to start experimenting with sublimation printing. The process is easy to learn and the startup cost is affordable.
Experienced sublimators can also benefit as a way to test or sample designs before printing transfers. And if you want to create truly one-of-a-kind customized pieces, sublimation markers are perfect!
How to Use Sublimation Markers
Here is a step-by-step guide to using sublimation markers tools:
1. Get Your Materials
To start, you’ll need just a few supplies:
- Sublimation markers
- Printer paper
- Polyester or polymer-coated blank item
- Heat press
- Parchment paper
- Heat-resistant tape
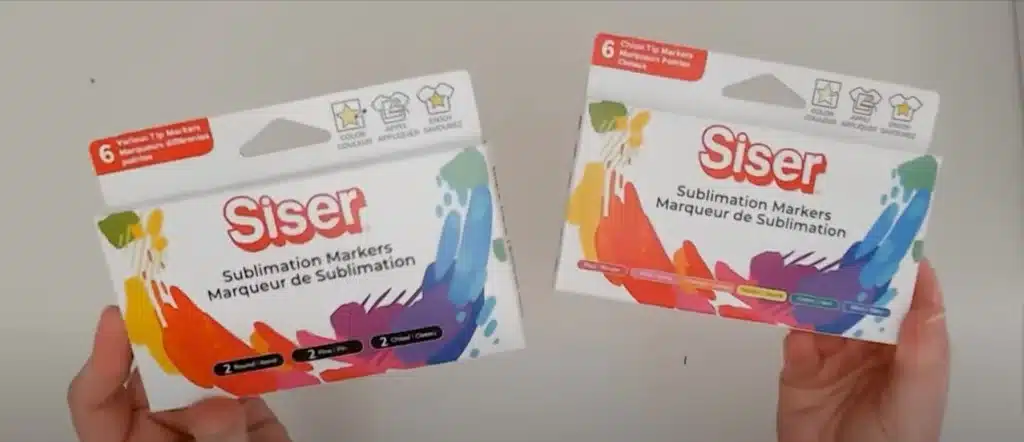
Choose a quality brand of sublimation markers like Arteza or Siser. Check that the package or website indicates they are compatible with regular printer paper, not just sublimation paper.
Many blanks work for sublimation markers including fabric items like t-shirts, towels, sleeves, hats, and canvas shoes. Hard goods like mugs, tiles, mirrors, and more work too if they have a polyester coating.
For beginners, a small hobby heat press is the most affordable. But a home iron can also work in a pinch!
2. Design and Draw Your Image
Now the fun part – using your markers to draw your design! You have a couple of options here:
- Hand draw your own original design – Get creative and draw completely freehand on the paper.
- Trace a printed design – Print out a design from your computer, then trace over it with the markers.
- Trace a coloring book page – Use the outlines as an easy guide for your marker colors.
When hand drawing, keep in mind your design will be reversed once transferred. So any text or details need to be drawn backward (mirrored).
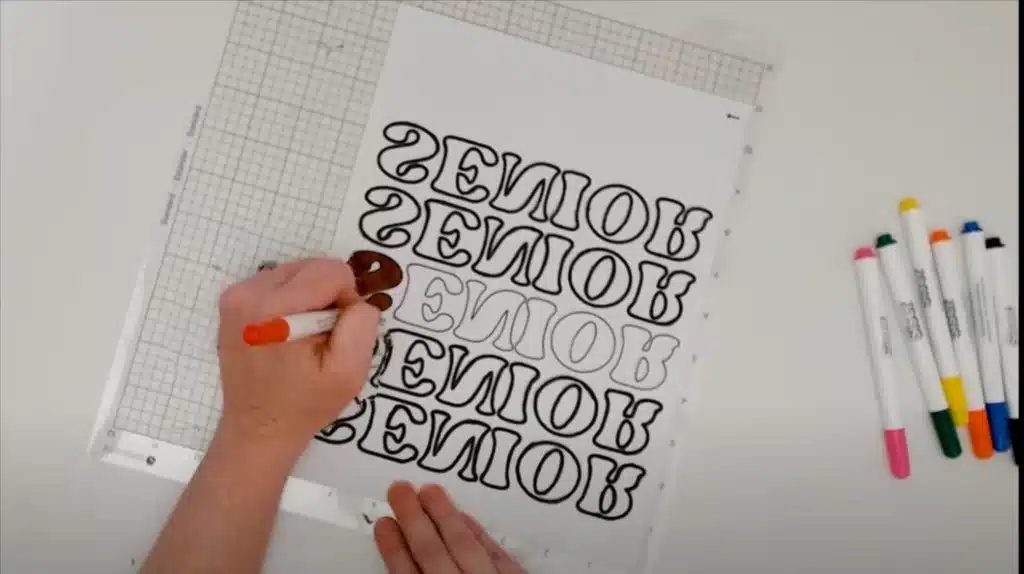
If you want to include text, print it reversed first, then trace over it with a marker. This ensures it transfers reading the correct way.
The markers function just like normal markers for ease of drawing. But the colors will appear lighter on the paper before pressing. Once heat is added, the vibrant colors will reveal themselves!
3. Cut and Place Your Design
Once your design is complete, carefully cut it out leaving a 1/2 inch border around the edges. Watch out for any smearing since the ink is still wet at this point!
Place your cut-out design ink side down on the blank item you’ll be sublimating. For a shirt, slip a piece of parchment inside to protect the backside.
Secure the paper firmly in place using small pieces of heat-resistant tape. This keeps it from slipping during the heat transfer process.
4. Apply Heat to Transfer
Now comes the magical part – the heat transfer!
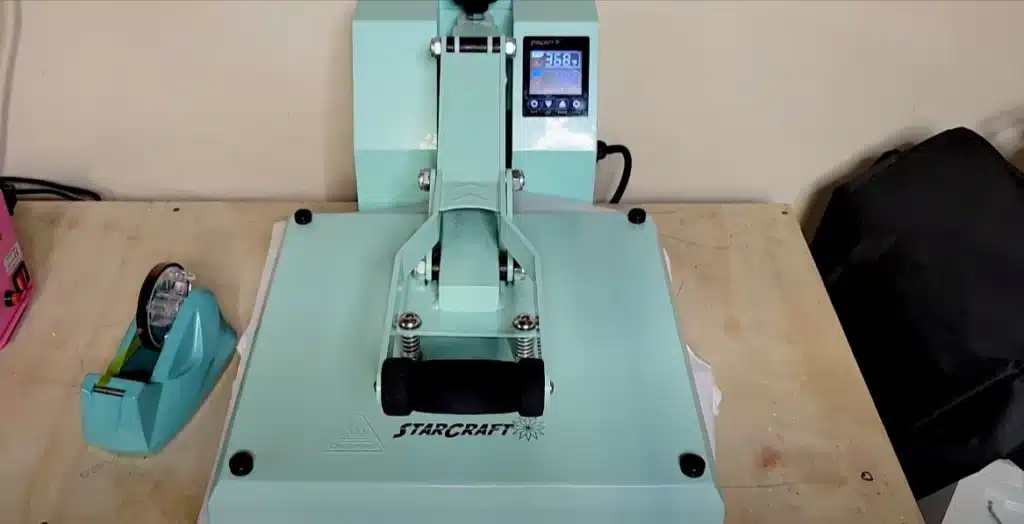
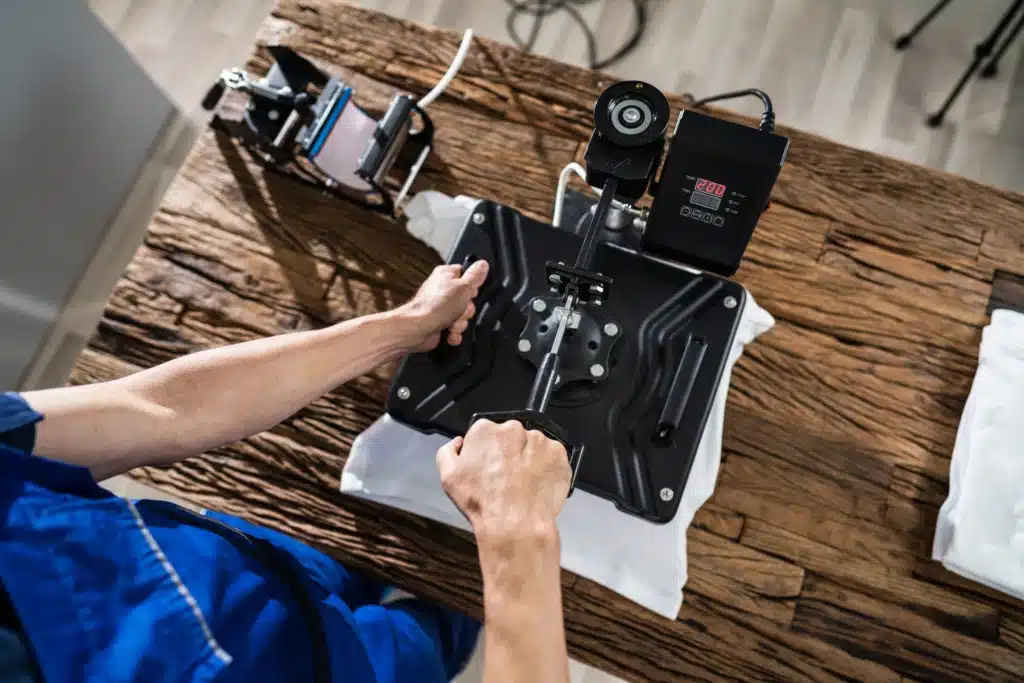
Preheat your heat press or iron to 400°F. For a heat press, use medium to firm pressure.
Carefully place the item on the lower platen of your heat press and hover the upper platen over the design for a few seconds. Gently lower the plate onto the paper and press for 60-120 seconds.
For an iron, apply steady downward pressure over the surface of the design for 45-60 seconds. Do not slide the iron around or ink may smear.
Once time’s up, lift the platen or iron and remove the parchment and paper backing. Let the item cool completely before handling.
Voila! Your vibrant, custom-sublimated print is now permanently bonded to your item. Pretty cool, huh?
Tips for Better Sublimation Marker Transfers
Like any new crafting technique, sublimation markers take some practice to master. Use these handy tips for getting great results right off the bat:
Troubleshooting Common Sublimation Marker Issues
Switching to a new decorating technique always comes with a bit of a learning curve. But don’t get frustrated! Here are some common sublimation marker problems and how to fix them:
Ghosting/box shadow effect – This double image effect is caused by ink not fully bonding during pressing. Increase time, temperature, or pressure to improve ink transfer.
Light or faded print – Two common causes are insufficient pressing time or poly fabric blended with cotton. Opt for longer press times or 100% polyester.
Ink smears on paper – Take care when cutting around the design so wet ink doesn’t smear. Allow the design to dry fully before cutting out.

Blank feels stiff after pressing – Overheating can damage the fabric. Reduce pressure and use the recommended temp for the fabric type.
Ink rubs off the blank – If you notice wet ink coming off on your fingers, allow the print to fully dry after removing it from the press. Insufficient pressing time can also be an issue.
A bit of trial and error is expected when starting out. But now that you know what to watch for, you can troubleshoot problems and improve your technique.
Advanced Techniques to Take Your Markers Further
Once you nail down the sublimation marker basics, there are some more advanced tricks to try:
1. Create Multi-layered Designs
Press your first layer, then tape down another sheet and press again for a multi-layered print. Align carefully for the best results!
2. Re-Press Transfers
Did your print come out too light? Re-pressing once more can help drive more ink into the fabric for extra vibrancy.
3. Print on Darks
It is possible to sublimate on darker fabrics by pressing once on a white polyester under the base, then pressing again directly on the dark shirt.
4. Make One-of-a-Kind Collages
Use markers to embellish and enhance dollar store paintings or photographs for unique art collages to press.
5. Try Double Sided Prints
With thin fabrics like handkerchiefs, you can press both sides for a double-sided sublimated print.
Don’t be afraid to experiment and push the possibilities with your markers. Learn even more techniques by joining marker enthusiast groups and connecting with fellow sublimators online.
Wrapping Up
I don’t know about you, but my mind is racing with ideas after learning about how sublimation markers work! I can’t wait to put aside my printer for a bit and enjoy creating fun customized prints the old-fashioned way.
Sublimation markers make the process so easy and affordable to start experimenting. Whether you’re new to sublimation or a seasoned pro, these markers open new options for quick short runs, samples, and one-of-a-kind personalized prints.
The permanent, vibrant colors produced rival any printer. And being able to design completely freehand or trace your own art unleashes a world of creative possibilities.
Hopefully, you now feel confident in how to use sublimation markers for decoration success. Grab those markers, make your mark, and start simplifying sublimation today!