Do you ever see those super cool custom coffee mugs and wonder how they are made?
The process is called sublimation printing and it allows for stunning, durable image transfer onto ceramic mugs. Sublimation mugs open up a world of possibilities for customization and personalization.
In this beginner’s guide, we will unpack everything you need to know about sublimation mugs. You’ll learn what are sublimation mugs and how to make them.
So, let’s dive in!
You May Also Like:
- What Is Sublimation Paper? (Types, Use Cases, etc)
- Sublimation vs Vinyl: Choosing the Right Printing Method
- 6 Best Sublimation Inks In 2024 (I’ve Tested All !)
- Why Is My Sublimation Not Transferring? (Causes & Solutions)
What Are Sublimation Mugs?
Sublimation mugs are ceramic mugs that have been coated with a special polymer powder coating that allows them to accept sublimation dye.

Here is what makes sublimation mugs unique:
So in summary, the polymer coating opens up the opportunity to customize ceramic mugs with stunning designs that hold up exceptionally well!
Can Any Mug Be Used For Sublimation?
No, you cannot use any mug for sublimation. Only mugs that have been specially coated for dye sublimation will work. These blanks allow the necessary ink infusion to occur.
Standard ceramic mugs lack this coating, so sublimation ink will merely sit on top of the material rather than bonding within it. Any images will quickly fade and scratch.
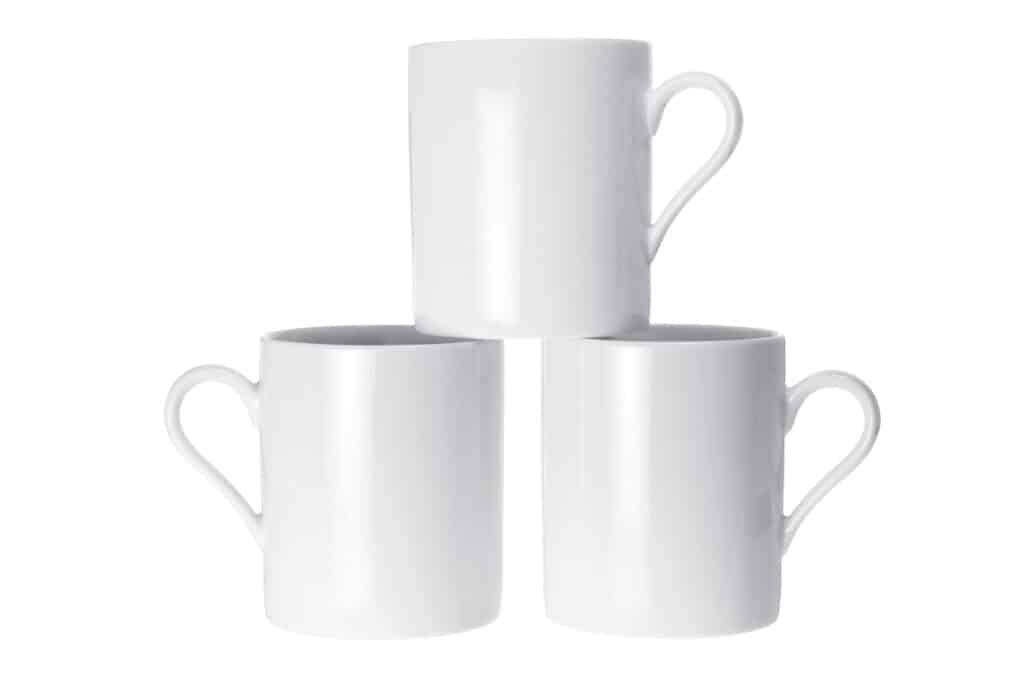
You also can’t sublimate dark-colored mugs. Because sublimation relies on infusing dyes rather than opacity inks, you need light-colored blanks for best results. White and light pastels work best.
When shopping for sublimation blanks, read descriptions carefully and look for confirmation of polymer coatings. This ensures ink will properly bond.
Materials Needed For Sublimating Mugs
Successful sublimation requires a few key supplies. Here is an overview so you know exactly what you’ll need:
- Sublimation Printer: Standard inkjet printers won’t work. You need one with specialized sublimation inks that vaporize when heat is applied. Popular options are from Epson, Ricoh, and Sawgrass.
- Transfer Paper: Special paper is coated with sublimation dyes. You’ll print your image reversed here first before heat-applying it to a mug.
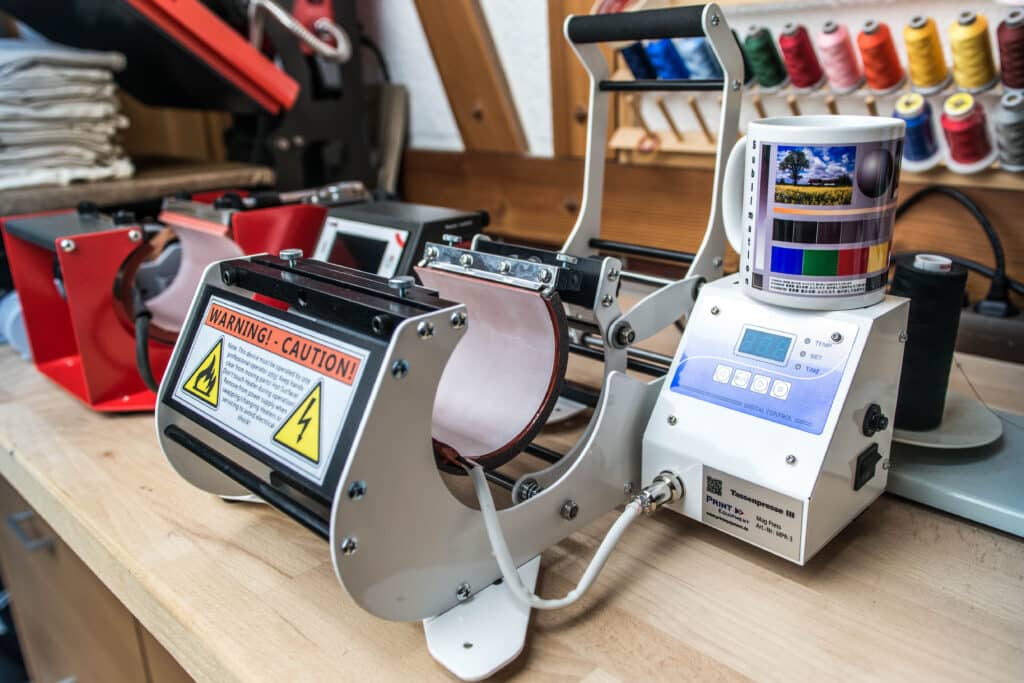
- Heat Source: Applying heat is what activates sublimation ink to gasify and infuse into the polymer mug coating. A mug press is ideal but you can use convection ovens.
- Mug Wraps: To hold paper tight to the mug surface, wraps help ensure all-over contact during heating. Butcher paper works well.
- Heat Tape: Small pieces of heat-resistant tape also help secure paper firmly to blanks during sublimation.
- Heat Gloves: Always protect your hands when handling hot items!
How To Sublimate A Ceramic Mug
There are two popular techniques for sublimating mugs – using a mug press or using ovenable shrink wrap. Here is an in-depth look at both processes:
Mug Press Method
A mug press allows for fast and convenient sublimation with good results. Follow these steps:
1. Prepare the design
Create your image sized to mug dimensions in a graphics program. Print onto sublimation paper and allow to fully dry before handling.
2. Attach the paper
Wrap your printed transfer paper around the mug, covering all sides you wish to sublimate. Smooth any wrinkles in the paper. Use small pieces of heat tape to secure paper edges in place.
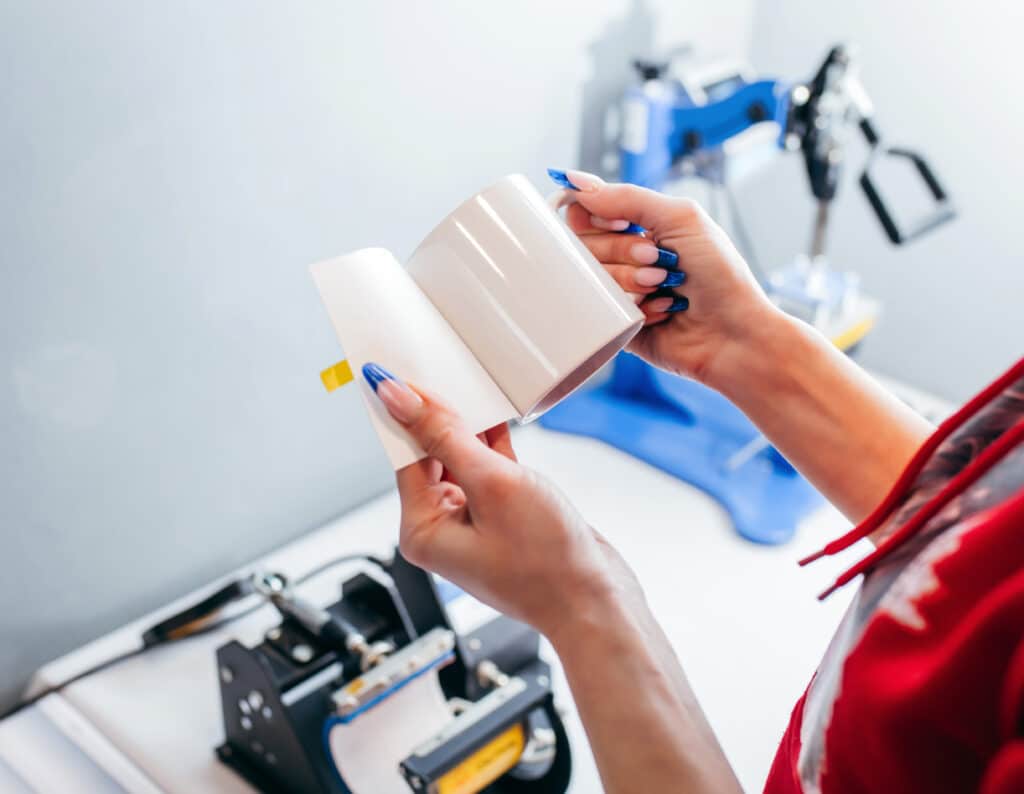
3. Add protective layers:
Cut pieces of butcher paper or parchment paper to cover parts of the mug you do not wish to sublimate, such as handles or rims. This prevents ink from bleeding onto unwanted areas. Tape protective pieces in place.
4. Insert into a mug press
Place the assembled mug inside the mug press, rotating the handle slightly away from the heating plates. Close the top heating element, ensuring plates fully cover your transfer paper.
5. Apply precise heat
Turn on your mug press and allow it to fully heat. Units sense room temp and adjust automatically. Presses average 400°F for 4-6 minutes. Do not open the unit or disrupt heat infusion.

6. Allow to cool
When the mug press beeps signaling completion, open the press and carefully remove the hot mug by the handle onto a heat-proof surface. Never touch mug walls or plates. Allow 15-30 minutes of cooling time.
6. Unwrap and enjoy
Once completely cool, use scissors to remove the tape, paper, and protective liners. Gently wash away any paper residue with soap and water to reveal your image!
Oven Method
Alternatively, reusable shrink-wrap sleeves let you use convection ovens for sublimating mugs:

1. Print and attach the image
Follow the same steps above to print your design onto sublimation paper sized to mug dimensions. Tape the image firmly onto the mug surface, smoothing any creases or bubbles beneath it.
2. Cut and insert mug
Trim any excess height off your wrap tubes using the mug circumference to guide scissors. Insert the mug into the tube, the handle sticking out through the open sleeve bottom.
3. Seal sleeve
At the mug handle, use scissors to cut vertical slits down to the mug at the ends of the handle notch. Fold lower tabs under and tape closed. Pull top tabs down across the handle and tape those closed too.
4. Apply heat
Use a heat gun to gently and evenly heat the sleeve, tightening it onto the mug surface. Avoid over-shrinking. When the sleeve is smooth but not too tight, insert the mug into a 400°F preheated oven.
5. Process and cool

Heat the mug for the recommended time based on blank thickness, usually 12-15 minutes. Allow to cool completely before handling again. This may take 30 minutes on thick mugs.
6. Remove and finish
Once the mug is completely cool, carefully cut and remove the shrunk sleeve and papers. Gently wipe away any light paper or ink residue with a damp cloth.
Be sure to use dedicated craft ovens and heat guns that have never been used for food. With some practice, the shrink wrap technique reliably produces vivid custom sublimated mugs.
tips for better mug sublimation
Here are tips for better mug sublimation in easy-to-read bullet points:
Frequently Asked Questions
Below are a few frequently asked questions to help you out:
What is the difference between a ceramic mug and a sublimation mug?
A sublimation mug has a polymer coating that allows ink to infuse into it when heat is applied. A basic ceramic mug lacks this coating so ink merely sits on the surface.
What is special about a sublimation mug?
The polymer coating lets you permanently customize a mug using sublimation printing. When done, the artwork essentially becomes part of the mug for durable, vibrant results.
Do sublimation mugs fade?
When properly made with sufficient heating, images on sublimation mugs do not fade or scratch off. Because dyes infuse within the mug material, they maintain their colorful pop for years.
Wrapping Up
Sublimation mugs open up new possibilities for stunning custom drinkware. While the process involves some specialized supplies and a learning curve, the long-lasting, vibrant results are well worth the initial effort.
With the right polymer-coated blanks, sublimation ink, heat source, and mug wraps or oven sleeves, you can permanently customize ceramic mugs in your signature style.
They make great personalized keepsakes for family and friends or profitable print-on-demand products you can market and sell.
So try out some practice runs on inexpensive blanks, review the tips above, and explore the creative ways you can put your images and designs on sublimation mugs.

