Personalizing a mug with your own design is a fun way to create a unique and meaningful gift or keepsake. But have you ever wondered which side of the mug you should print your design on?
It’s an important question to consider because the placement of your design can impact how it’s seen and enjoyed.
In this article, we’ll explore the factors that determine ‘Which side of mug to print on’. We’ll look at how a person’s handedness (whether they’re right-handed or left-handed) plays a crucial role in deciding where to place the design
So, keep reading!
you may also like:
- Can You Sublimate on Silicone? (Explained!)
- How To Sublimate a 30 Oz Curved Tumbler (Step By Step!)
- Can You Sublimate On Modal Fabric? (Yes, But..)
- How Much Should I Charge for Sublimation Shirts?
Which side of mug to print on?
The side you choose to print on largely depends on the recipient’s handedness. Here’s a detailed breakdown for both right-handed and left-handed individuals:
Right-handed Individuals
For right-handed recipients, the general rule is to print the design on the right side of the mug.
This positioning ensures that when they hold the mug with their dominant right hand, the design faces outward, allowing them to see it and share it with others.

When printing on the right side for right-handed individuals, it’s crucial to consider the design’s orientation.
If your design includes text or an image with a specific orientation, make sure to align it correctly on the right side for optimal readability and visual impact.
Pro Tip: If you’re unsure about the recipient’s handedness, it’s always a good idea to double-check or consider printing the design on both sides of the mug to ensure visibility regardless of how they hold it.
Left-handed Individuals
On the other hand (pun intended!), for left-handed recipients, it’s recommended to print the design on the left side of the mug.
This positioning ensures that when they hold the mug with their dominant left hand, the design will face outward, allowing them to enjoy it while sipping their favorite beverage.

Just like with right-handed recipients, it’s crucial to consider the design’s orientation when printing on the left side for left-handed individuals.
Ensure that any text or images are aligned correctly for optimal readability and visual appeal when viewed from the left side.
Other considerations
While handedness is the primary factor in determining which side to print on, there are a few additional considerations to keep in mind:
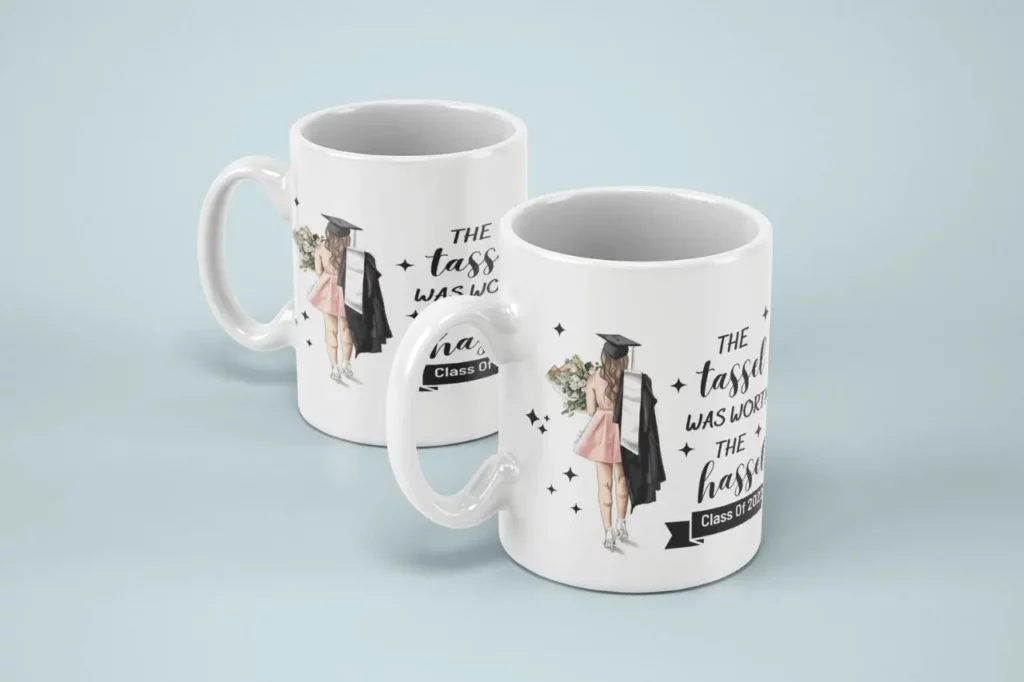
- Design orientation: As mentioned earlier, if your design has a specific orientation, like text or an image that needs to be read or viewed in a particular way, ensure the printing position aligns with that orientation for optimal visual impact.
- User preference: It’s always a good idea to check with the person you’re creating the mug for to confirm their handedness or any preferences they might have regarding the design placement.
- Mug shape and handle placement: While most mugs have a standard handle placement, some unique designs or shapes might require extra consideration when determining the best side for printing.
- Intended purpose: Consider the intended purpose of the mug. If it’s primarily for personal use, prioritize the recipient’s handedness and preferences.
Here’s a handy table summarizing the general guidelines:
| User Handedness | Side to Print On |
|---|---|
| Right-handed | Right side |
| Left-handed | Left side |
Should I print on both sides of a mug?
Printing on both sides of a mug can be an excellent option in certain situations. Here’s a detailed look at the pros and cons to help you decide:
Pros of printing on both sides:
Cons of printing on both sides:
Ultimately, the choice to print on one or both sides of the mug depends on your personal preference, budget, the overall design concept, and the intended purpose of the mug.
How do you print on a mug?
Here’s a detailed overview of the sublimation printing process for mugs:
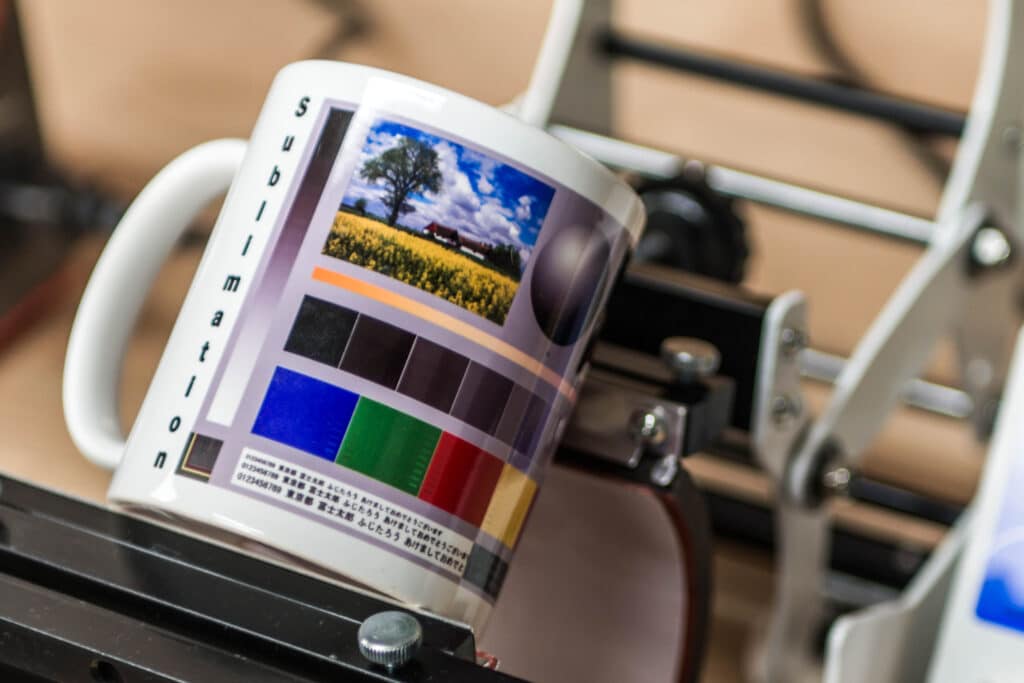
- Design creation: Start by creating your design using graphic design software like Canva. This step allows you to experiment with various design elements, text, and graphics until you achieve the desired look.
- Printing: Once your design is finalized, print it onto sublimation transfer paper using a specialized printer and sublimation ink. Sublimation printers are designed to print vibrant, long-lasting images onto the transfer paper.
- Mug preparation: Ensure the mug you’re using is poly-coated and suitable for sublimation printing. Polycoated mugs have a special coating that allows the sublimation dye to permanently bond with the surface.
- Design positioning: Carefully position the printed design on the desired side of the mug, ensuring proper alignment and orientation. Use heat-resistant tape or a specialized mug wrap to secure the design in place.
- Protective covering: Cover the design with a protective sheet or paper to prevent any potential damage or smudging during the heat transfer process.
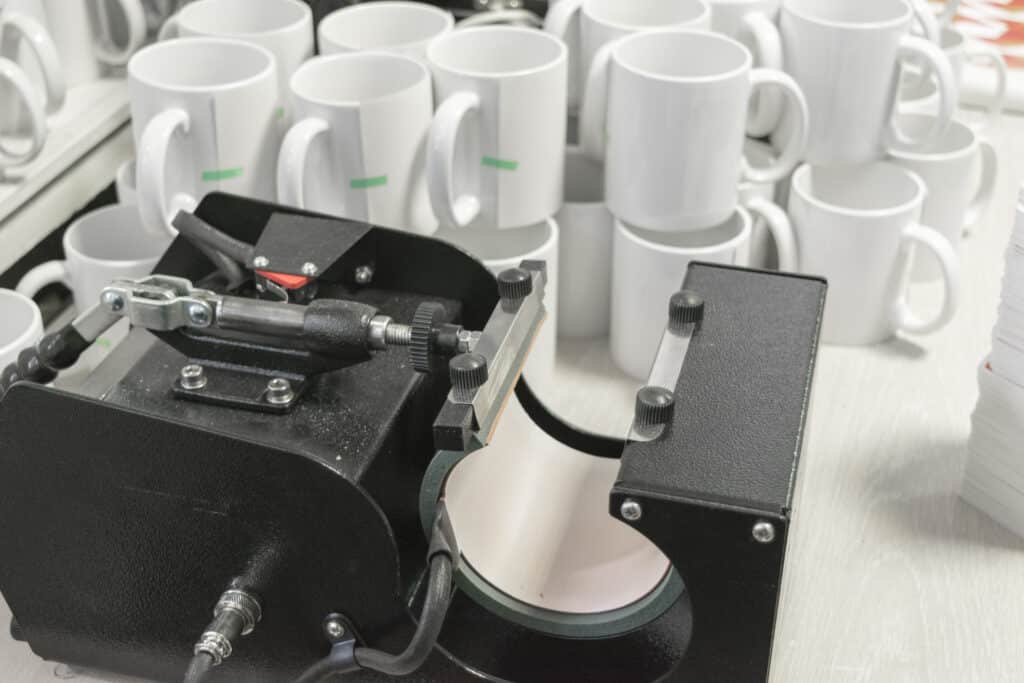
- Heat press: Use a heat press or mug press specifically designed for sublimation printing. Follow the manufacturer’s instructions to set the appropriate temperature and pressure settings, and apply heat and pressure.
- Cooling: After the heat transfer process is complete, allow the mug to cool completely before handling or using it. This step ensures that the sublimated design is properly set and prevents any potential smudging or damage.
- Finishing touches: Once the mug has cooled, carefully remove any protective coverings or tapes. Inspect the design for any imperfections and make any necessary touch-ups or adjustments.
Frequently asked questions
Below are a few frequently asked questions:
Should a mug logo face in or out?
As a general rule, the mug logo or design should face outward when the user is holding the mug in their dominant hand. This ensures that the design is visible to others and adds to the visual appeal of the mug.
Do you mirror mug designs?
Yes, it’s generally recommended to mirror (or horizontally flip) your mug design before printing.
This step ensures that the design appears correctly when viewed from the outside of the mug.
Wrapping up
Choosing the right side for printing on a mug is crucial for ensuring a practical and visually appealing design.
By considering the recipient’s handedness and any specific design orientations, you can create mugs that are both functional and beautiful.
Remember to weigh the pros and cons of single-sided or double-sided printing based on your needs and preferences.
With the right approach, attention to detail, and careful consideration of the recipient’s preferences, your personalized mugs will be a hit and leave a lasting impression on their recipients!
