

We’ve all been in this tricky situation before.
You just got your slick new sublimation printer and supplies.
You’re pumped and ready to start printing some super cool custom shirts and mugs!
But whoops…you realize you don’t actually have a heat press yet. Major bummer! 😫
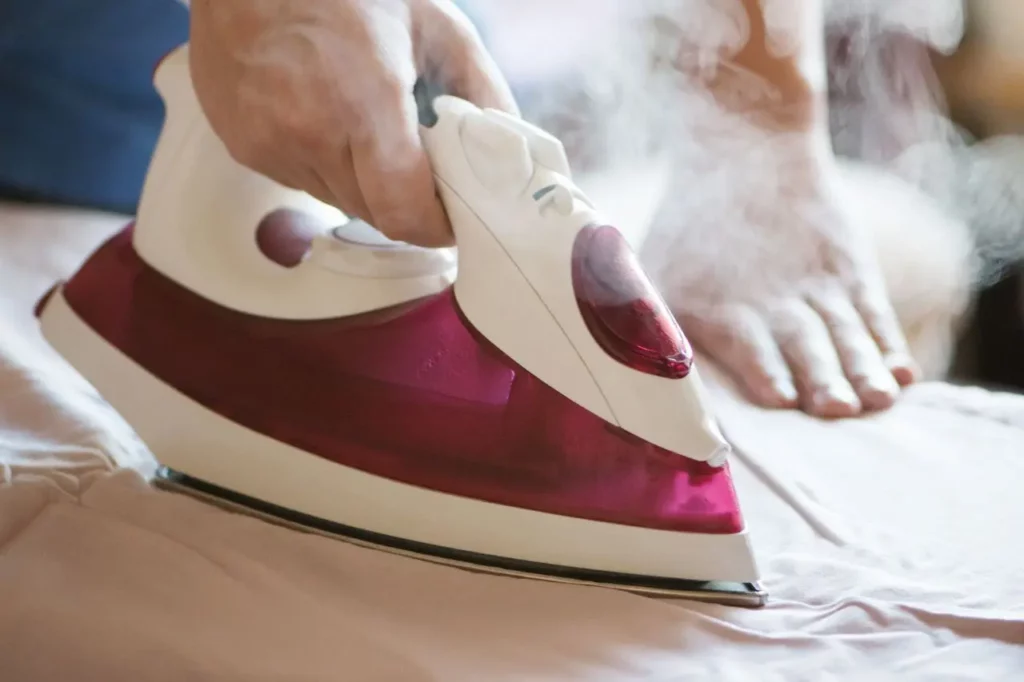
No biggie, why not try your trusty old household iron?
It’s got enough heat, so why not give it a try!
But the question is can you use an iron for sublimation?
Well you are in luck, this article will cover:
- Can you use iron for sublimation
- How to properly use iron for sublimation
- What items can you sublimate using iron
- Downsides of using an Iron for sublimation
- Why a heat press is recommended
So stick around, a lot of stuff is coming your way!!
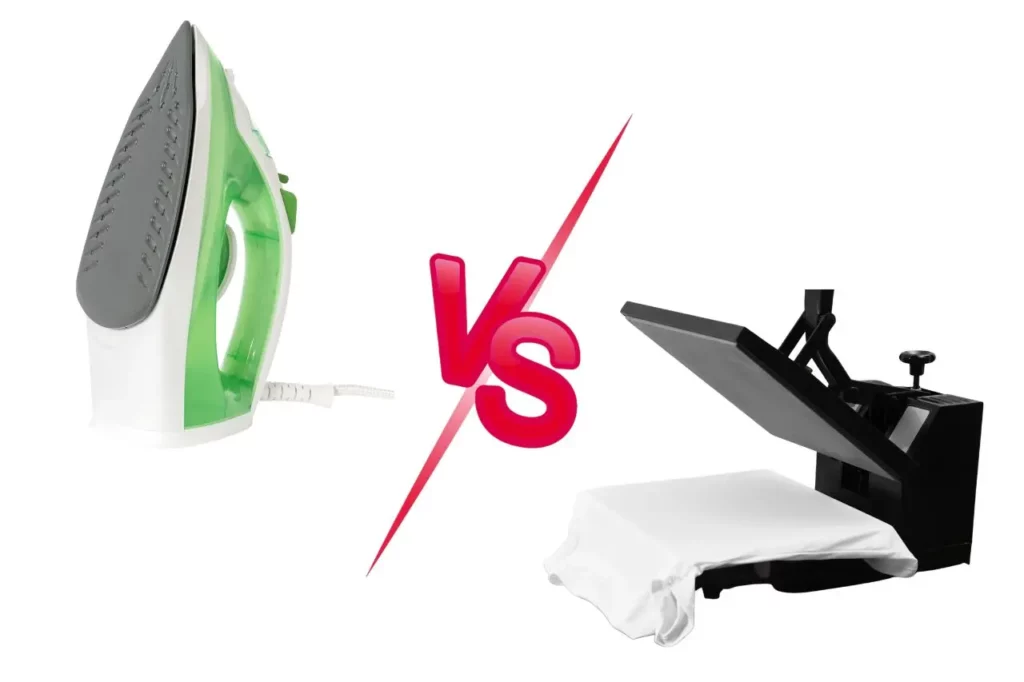
Can You Use An Iron For Sublimation?
Technically, yes it is possible to use a standard household iron for sublimation if your iron can reach the 400°F+ temperatures needed for the process.
However, it is generally not recommended, especially for beginners. Irons are not designed for sublimation, so results will likely be inconsistent and uneven compared to using a proper heat press.
Out of excitement to try the process or necessity when lacking proper equipment, many people have tried (including me) doing sublimation transfers with a basic clothing iron.
But this rarely works well, except maybe for some very small items. For producing quality products to sell, iron provides poor and dull results.
Why household iron is not a great choice for sublimation
The sublimation process requires high heat above 375°F sustained for 60 seconds or more, along with firm, even pressure over the entire surface area.
Any small gaps or unevenness in the heating element or pressing surface can cause blurred or ghosted images.
For these reasons, sublimation is designed to work best with specialized equipment like a heat press.
Supplies Needed for DIY Iron Sublimation
To attempt sublimation with a household iron, you’ll need:
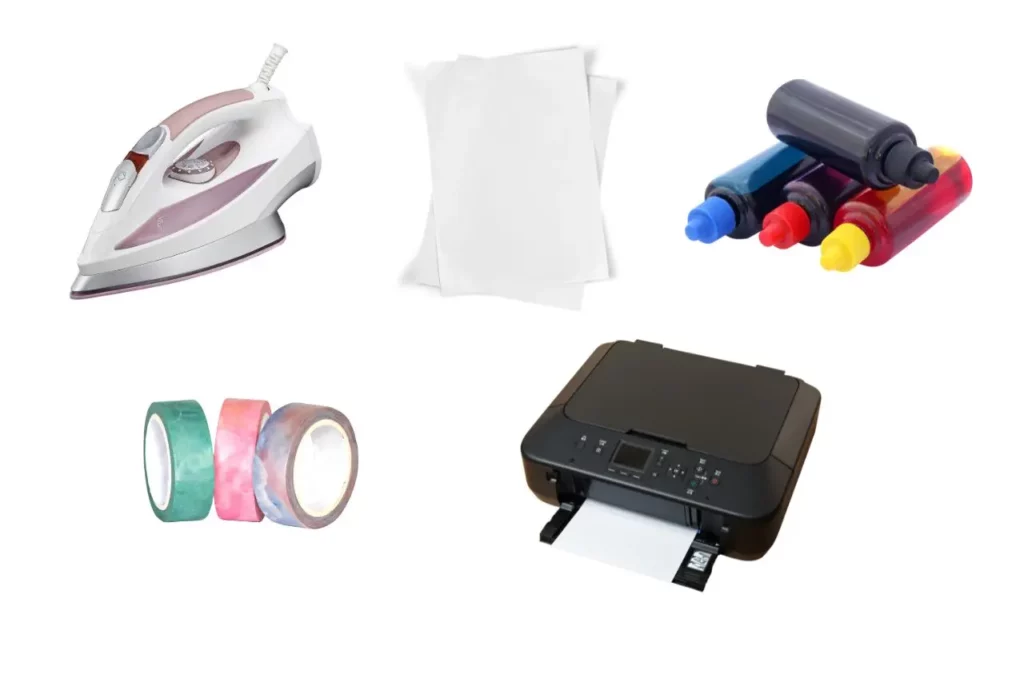
- Sublimation printer and ink – Usually an inkjet model with sublimation capabilities.
- Sublimation paper – The sublimation dye is printed onto this coated paper.
- Household iron – Preferably one that reaches 400°F+.
- Heat-resistant tape – To keep transfer paper flat and lined up on the item.
Also Read: Can You Use A Regular Printer For Sublimation Printing?
Step-by-Step Guide to Press with a Home Iron
Preparing a sublimation transfer with an iron involves a few key steps:
1. Print your design
Use a sublimation printer and ink to print your design onto sublimation paper. This special paper has dyes that will gasify and infuse into the polymer coating on your item when heat is applied.
2. Preheat your iron
Set your household iron to the highest temperature setting. Make sure steam is turned off.
3. Prepare your item
Place the object you want to sublimate on a hard, heat-resistant surface. Pre-press it with the iron for a few seconds to remove any moisture and wrinkles.
4. Align the transfer
Place the printed sublimation transfer face down on the object. Use heat tape to secure it flat in position.
5. Press firmly for 60-90 seconds
Apply steady, firm pressure with the iron on the paper backing for 60-90 seconds. Move the iron in small circles to distribute heat evenly. Do not slide the iron around as this can blur the design.
6. Allow to fully cool
Remove the iron and allow the item to cool completely before handling. This ensures the dyes properly set.
7. Remove backing
Once cooled, gently remove the transfer paper backing to reveal your sublimated design on the object!
Downsides of Using a Household Iron
Standard irons have some distinct disadvantages when it comes to sublimation:
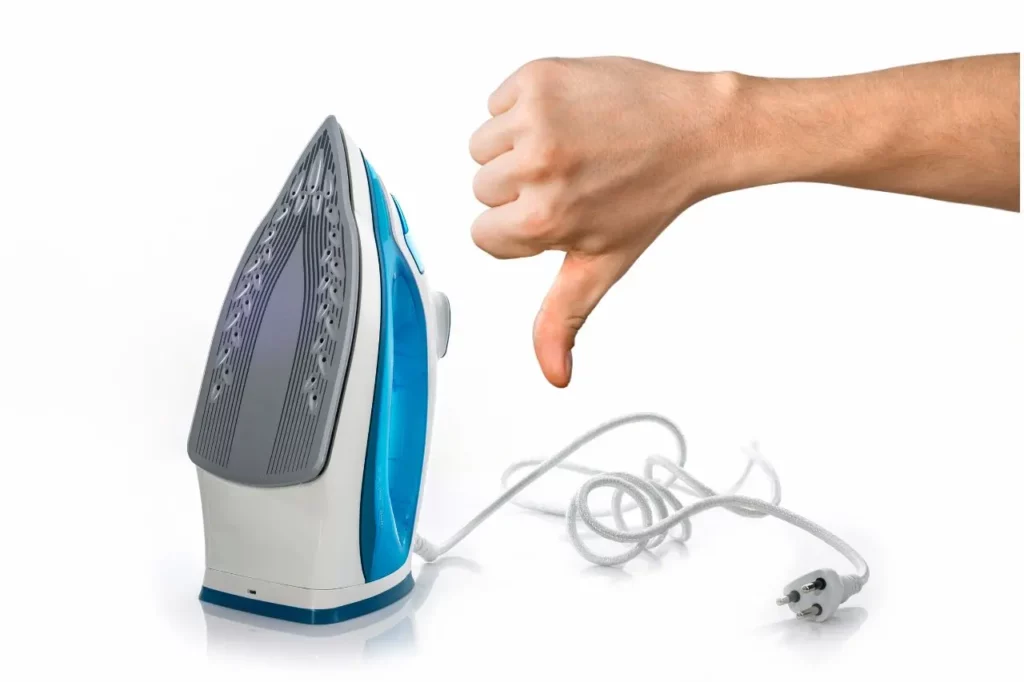
- No temperature controls – You do get a temperature knob but it is not specifically designed for controlling temperature for the sublimation process and most of the time you have to use whatever the maximum temp is.
- No timers – Hard to gauge optimal pressing duration.
- Uneven heating – Plates aren’t designed for even heat distribution.
- Inconsistent pressure – Hard to press firmly without a dedicated press.
- Steam holes – Most of household irons have small steam holes all around the surface of the iron that will prevent proper heating of the sublimation paper.
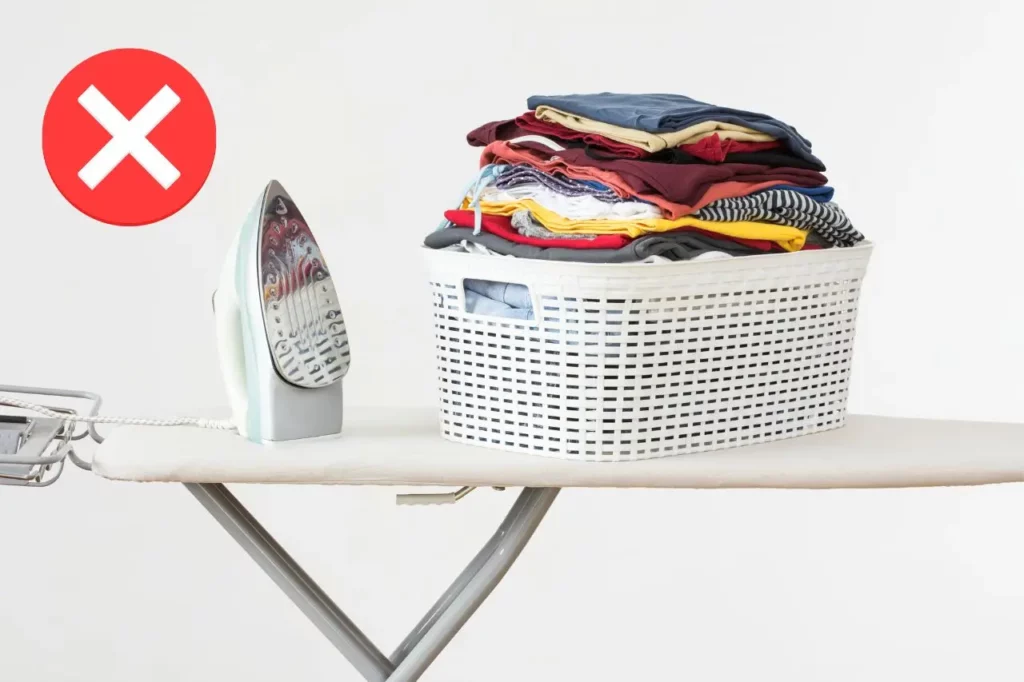
- Small surface area – Can’t print bigger items or multiple smaller ones.
- Ghosting – Moving iron around leads to blurred/ghosted images.
What Can Be Sublimated Using a household iron
The only items that can potentially work when pressed carefully with a basic iron are very small, flat pieces like bracelet charms, keychains, mousepads or pet tag inserts.
But getting quality results will still depend greatly on the iron, technique, transfer, and item in question.
For any business purposes, investing in a proper heat press is highly recommended whenever possible.
Iron vs. Heat Press – Side-By-Side Comparison
When pressed with a household iron, sublimation transfers come out faded, blurry, and inconsistent compared to using a proper heat press.
The iron method can possibly work for some small DIY projects.
But for any business selling sublimated goods, a real heat press is strongly recommended for reliable, quality results.
| Feature | Heat Press | Household Iron |
|---|---|---|
| Temperature Control | Precise digital control, up to 400°F+ | Limited, fixed max temperature |
| Timer | Digital timer for exact press duration | No timer, hard to time precisely |
| Pressure | Lever provides even, heavy pressure | Difficult to press firmly by hand |
| Plate Design | Flat, even surface | Uneven with holes and divots |
| Size | Large plates, can press big items | Small soleplate size |
| Consistent Heating | Even heating across entire plate | Heats and cools unpredictably |
| Results | Consistent, vibrant results | Inconsistent, faded/blurry results |
| Cost | $200 – $500+ | Already owned |
| Learning Curve | Some technique required | More difficult, less margin for error |
| Recommended For | Business, frequent use | Occasional personal DIY projects |
Choosing a Home Heat Press for Beginners
If investing in a heat press, here are some things to look for in an entry-level model:
Here are some tips for choosing a home heat press for beginners:
Look for Digital Controls
Seek out presses with digital displays and controls for setting time and temperature. This allows more precision and consistency compared to presses with analog knobs.
Get the Right Size Plate
Standard 15×15 inch plates are a versatile size well-suited for apparel printing and many accessories. Avoid plates that are too small.
Affordable Under $300
As a beginner, start with an economical but durable press in the $200 to $300 price range. Upgrades can come later once you’re earning.
110-120V Power
Ensure the press uses standard 110-120V household power. Avoid units needing special 220V outlets.
Clamshell Style
Presses with a hinged opening top plate help save space and provide portability.
Review Warranty
Presses aimed at home crafters should have at least a 1 year warranty. Verify the seller has responsive customer service.
Watch Reviews and Demos
Check out YouTube to see the press in action and hear feedback on ease of use from real owners.
Use Caution at First
Practice on inexpensive blank items and transfer paper to perfect your technique before moving to pricier materials.
Don’t Be Shy to Ask Questions
If unsure about anything, reach out to the seller’s customer support before purchasing.
Following these tips will help you select the ideal affordable beginner heat press for starting your home-based sublimation venture!
FAQ – Can You Use An Iron For Sublimation?
Can I Use a Cricut Heat Press for Sublimation?
Yes, the Cricut Heat Press works great for sublimation.
It’s best to use a thermal transfer sheet with it, but you can also use direct sublimation inks.
The Cricut Press is made of durable steel which provides an even heating surface. This gives crisp, vivid images every time.
It also reaches high temperatures perfect for quality sublimation prints.
And it’s lightweight and portable at just 10 pounds. Easy to transport to craft fairs or workshops.
So the Cricut Heat Press is a excellent, versatile option for home sublimation printing.
Can you use an iron instead of heat press?
You can use an iron instead of a heat press for sublimation, but the results are lower quality. A heat press is recommended for best results.
Can I use an iron for heat transfer paper?
Yes, you can use a standard household iron for pressing basic heat transfer papers. However, you may experience inconsistent results compared to using an actual heat press. Issues like ghosting, blurred edges, and incomplete transfers can occur without the calibrated heat, dwell time, and pressure control of a commercial heat press. But for occasional use an iron can work in most cases with care and proper technique.
Conclusion: Is a Household Iron Viable for Sublimation?
In summary, it is technically possible to use a clothing iron for sublimation printing in a pinch, but it comes with many limitations in terms of temperature control, pressure, and final print results.
For any serious sublimation business, investing in a true heat press is highly recommended for consistent, quality output.
Be sure to carefully consider the risks and limitations before attempting sublimation with a basic iron.


